Background
The sink in my mother's caravan has a drainer unit which connects into the main drain under the sink. The drainer pipe connects onto the underside of the drainer section of the sink unit catching the water from drying dishes and routes it into the main drain. Unfortunately the seal on the pip has perished over the many years it has been used and water had started to leak into the cupboard below. Although the amount of water was small i did not want it to damage any of the wood work below the sink. I thought it would be a simple case of ordering a spare part however after a couple of weeks of searching the internet i was unable to find a spare. The part is no longer made and a standard domestic replacement could not be adapted to fit. The manufacturer is still in existence but no longer makes the parts nor supplies spares for it.
I decided i would have to make a spare from scratch using some rubber salvaged from an old bicycle tyre inner tube. I had one in storage so i used that. Read below to find out more about this small project.
I decided i would have to make a spare from scratch using some rubber salvaged from an old bicycle tyre inner tube. I had one in storage so i used that. Read below to find out more about this small project.
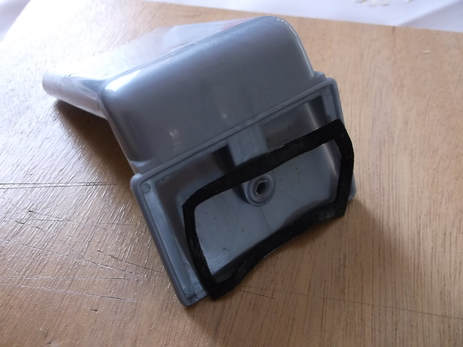
This picture shows the collector section of the drain which connects to the underside of the drainer board. The collector is held to the drainer board vi a stainless steel screw, the hole can be seen in the centre of the collector.
The black rubber seal has clearly perished and shrunk, no longer providing a seal arround the edge of the collector.
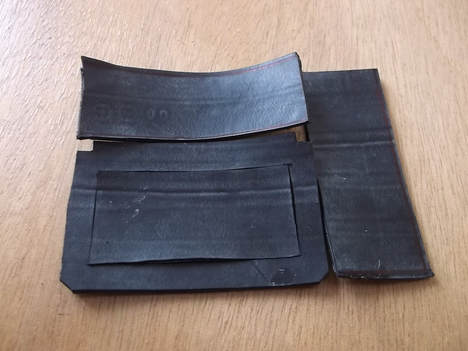
I had an old spare bicycle inner tube. I cut a couple of sections of rubber from it and then glued them together to create a seal of the required thickness.
This picture shows the stage where the large piece fabricated from the sections of rubber has been trimmed down to the required size leaving some useful sized off cuts.
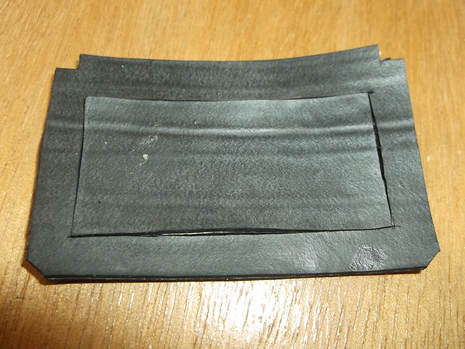
After cutting to an approximate shape the replacement seal was trimmed to the correct size and then notches inserted to allow exact fitting to the plastic face of the fitting.
The inner section was then carefully trimmed out and the removed section will be kept for use in other projects.

This picture shows the finished seal after it was trimmed.
Although it is not identical to the plane rectangular original it was a very good fit. The structure is also much stiffer meaning that fitting was much easier and the seal was less likely to slip when being installed in the confined space under the sink.

This picture shows the seal with some Soudal Fix-All sealant/adhesive applied. This was used to fix the seal to the plastic plumbing fitting. The sealant was spread evenly across the rubber before being installed.
Further information and pictures to follow soon.....

The sink unit showing the drainer next to the sink.
|
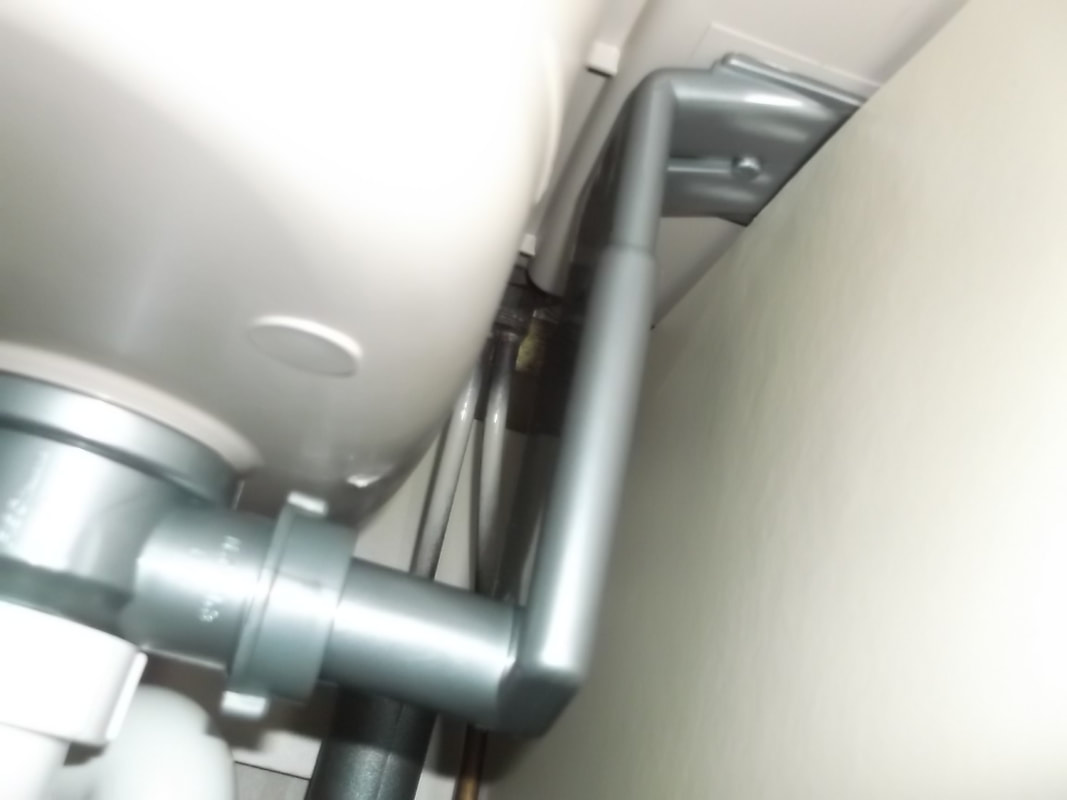
The underside of the sink drainer showing the unit connected to the underside of the sink and into the main drain pipe.
|
