Background
Recently i have been doing a lot of long over due renovating and decorating in my house. For many years i had left a shelved cupboard 'open plan' and being unwilling to dispose of a perfectly good door i had stored it! It was not convenient to have the door on the cupboard as every time i needed to get in an armchair had to be moved to open the door wide enough to be useful. I decided that i wanted to re-hang the door but came up with the plan of converting the door to two half doors thus removing the need to move furniture to gain access. I decided to split the current door vertically, horizontally was considered but it was not the best solution for this situation. With this solution i no longer had to store a door and it was being recycled/re-purposed and put to good use.
The first job was to rehang the door and check that it was still a good fit. After over 25 years of storage i did not want to find that it was warped or had shrunk too much.
The door was then marked and placed on trestles. A line was carefully marked down the centre of the door and then patiently cut trying to ensure minimal damage to the wood and the structure.
If you are not careful when carrying out this type of operation on a door of this type of construction it can fall apart into its component pieces!
After carefully cutting the door into the two halves hinge recesses were marked and cut into the 'new' half of the door.
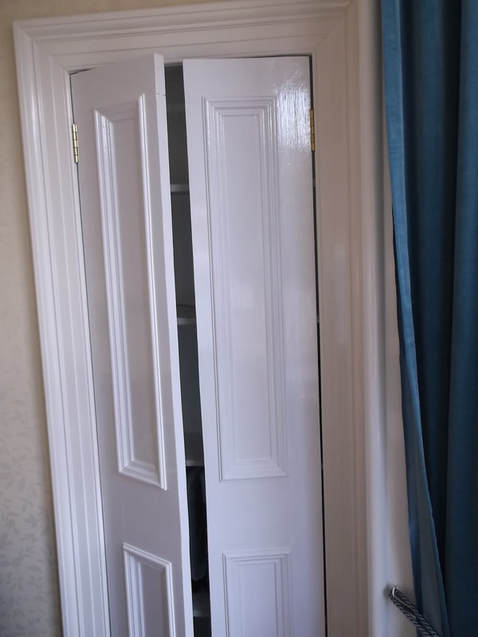
Both halves of the door were then carefully hung on the frame and carefully aligned to produce a good shut line.
The hinge holes were marked on the door frame and a few holes were drilled for the initial line up.
Wooden wedges were used under the door to assist in setting the position and alignment of the doors.
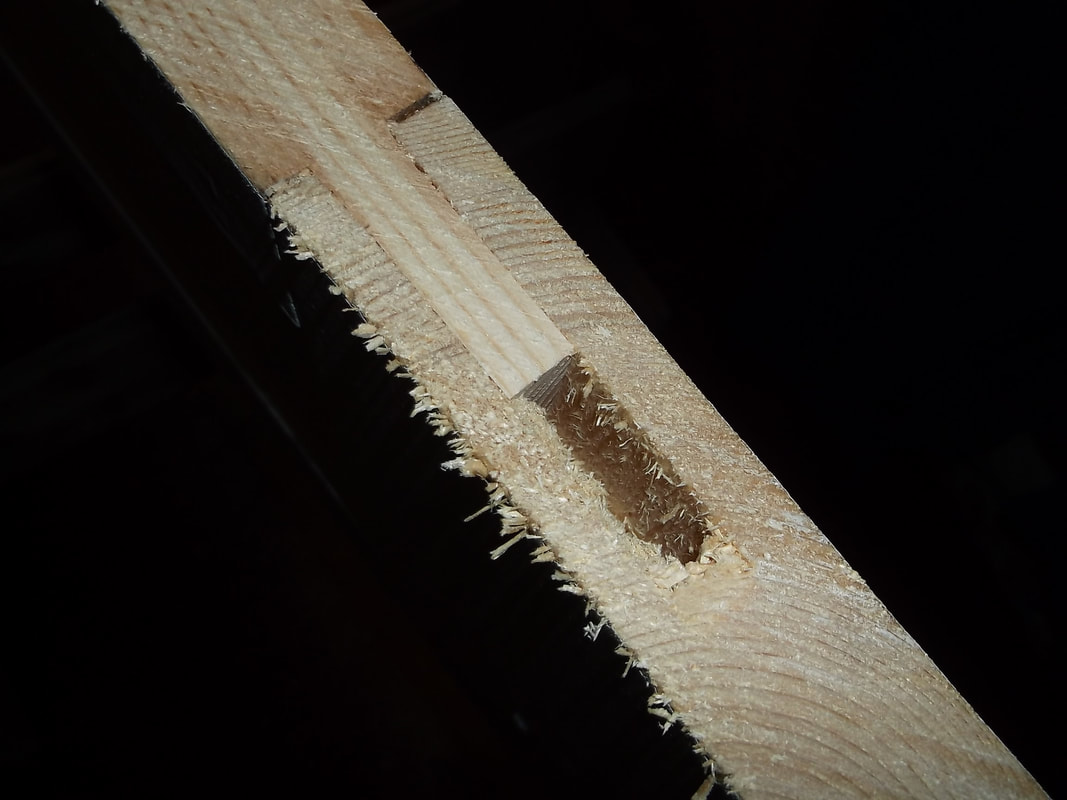
This picture shows the middle of the doors after they had been cut in half. The tongue and groove construction can easily be seen. Fortunately the joints were still very tight and there was little chance of the door falling apart into pieces. 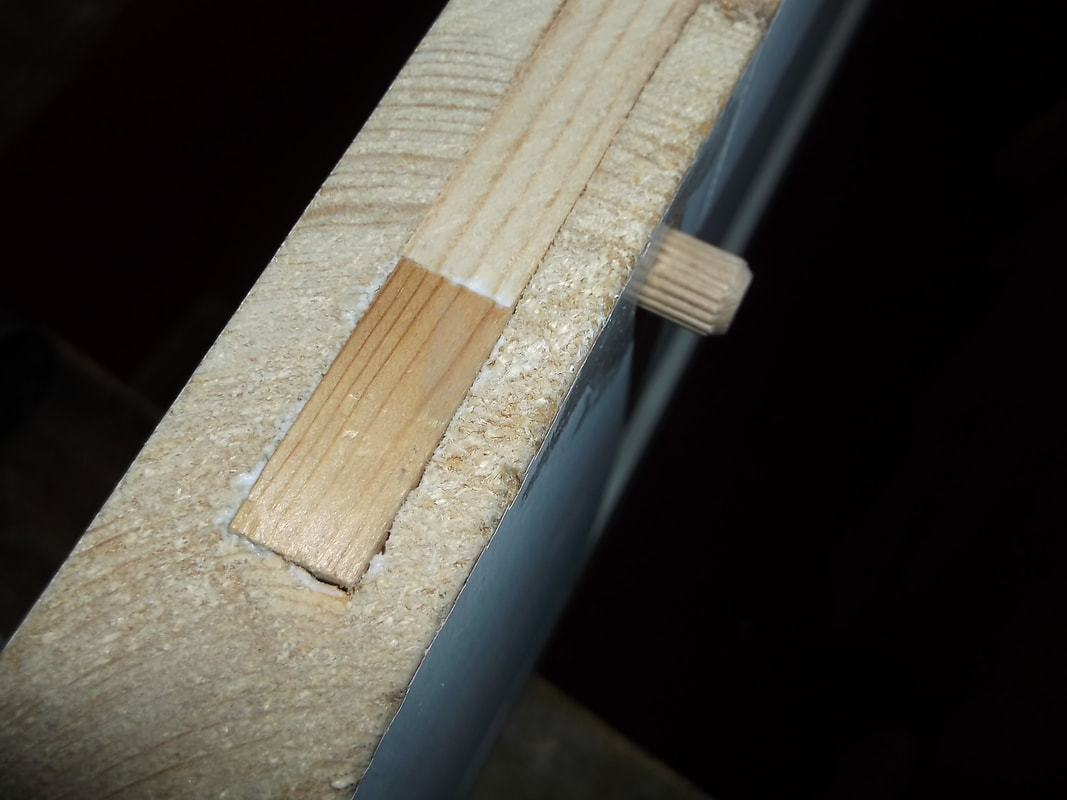
The holes created in the outside edges of the door after cutting in half were filled with suitable sizes of wood off-cuts trimmed to fit. Wood glue was applied to the inside of the hole and then the fillet was carefully tapped in leaving it slightly proud so that it could be planed and sanded flat.
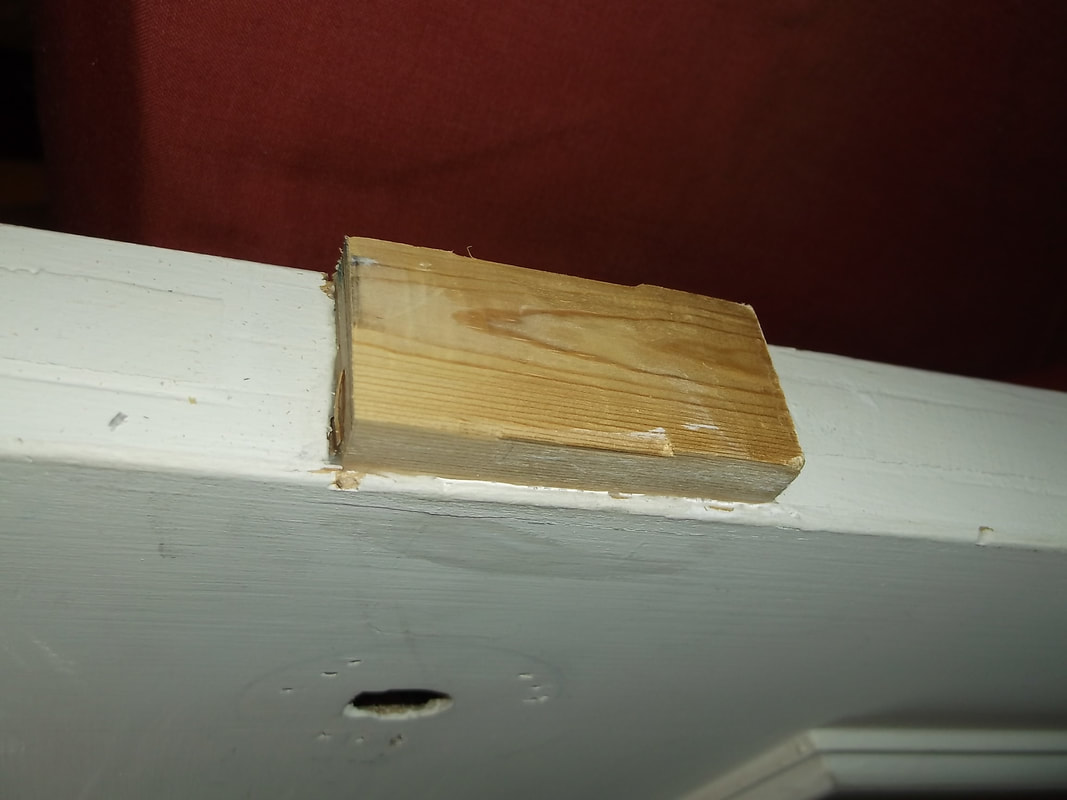
The hole for the latch mechanism was filled with another suitable sized off cut. It was glued in place and then planed and sanded level later.
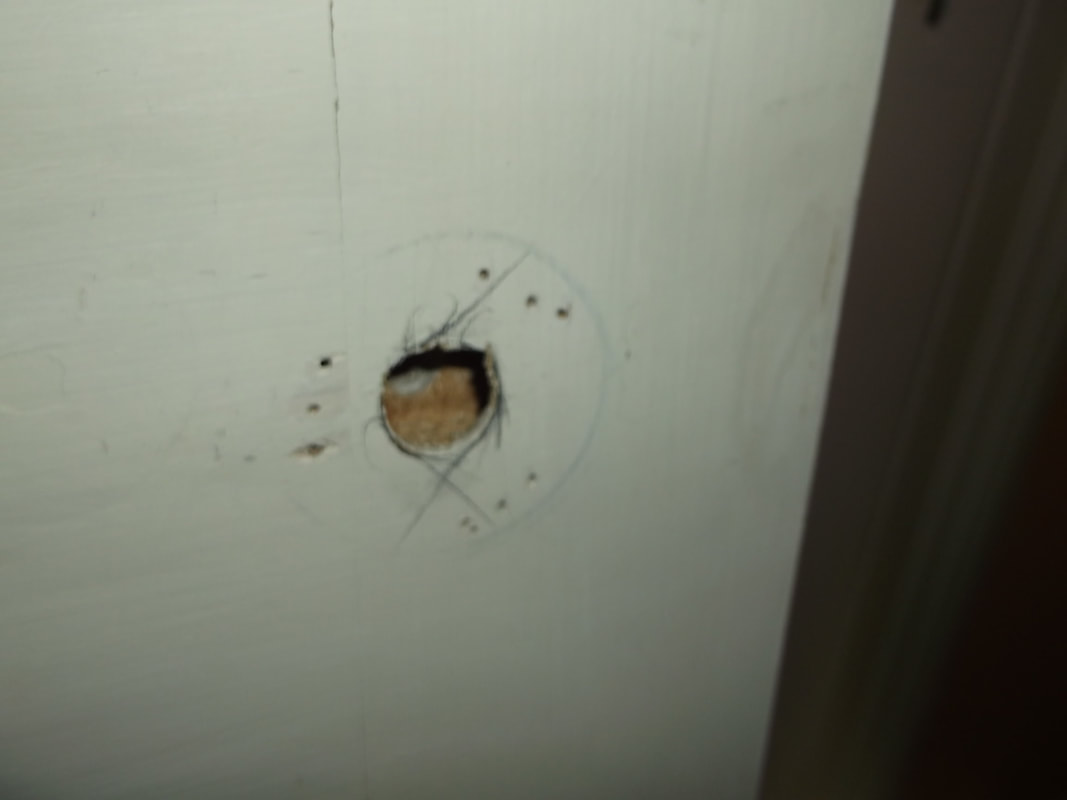
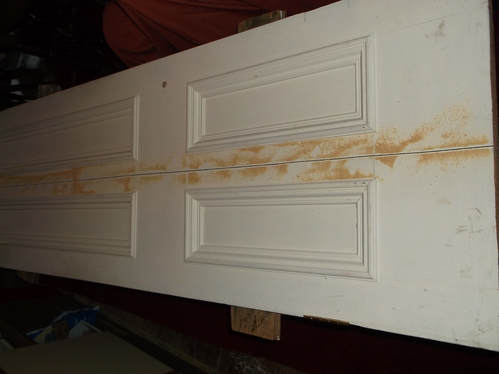
This picture shows the outside of the door where the keyhole had previously been filled. This was done many years ago, then i decided not to use the door and put it into storage.

With sufficient of the dowel on both sides of the door the dowel was trimmed and glued in place and left to dry over night.
|
The first step was to tidy up the edges of the door after sawing and then to install dowels into the tongue and groove parts to ensure they would not come loose over time.Several 10mm wooden dowels were used to reinforce all the joints on both halves.
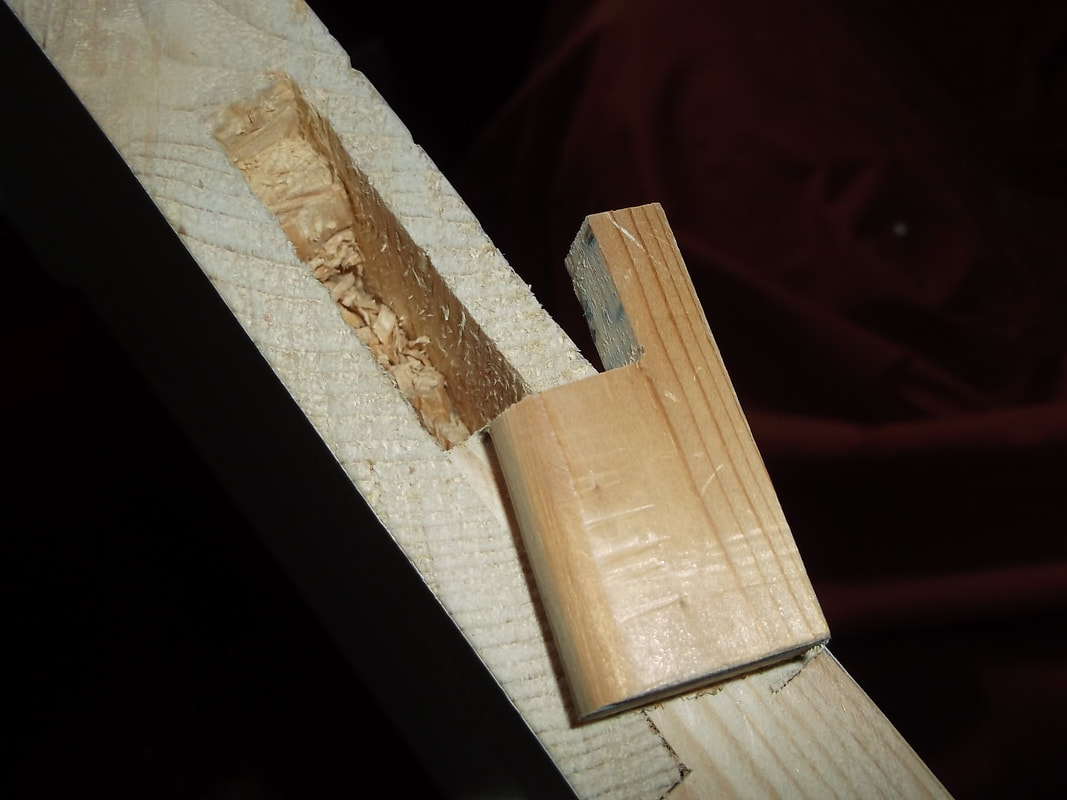
A few of the holes could not be cleared out fully without doing some damage to the internal structure so the fillets were trimmed to fit around the obstruction as shown in this picture. After the glue had dried, the dowels and the fillets were planed and sanded level.
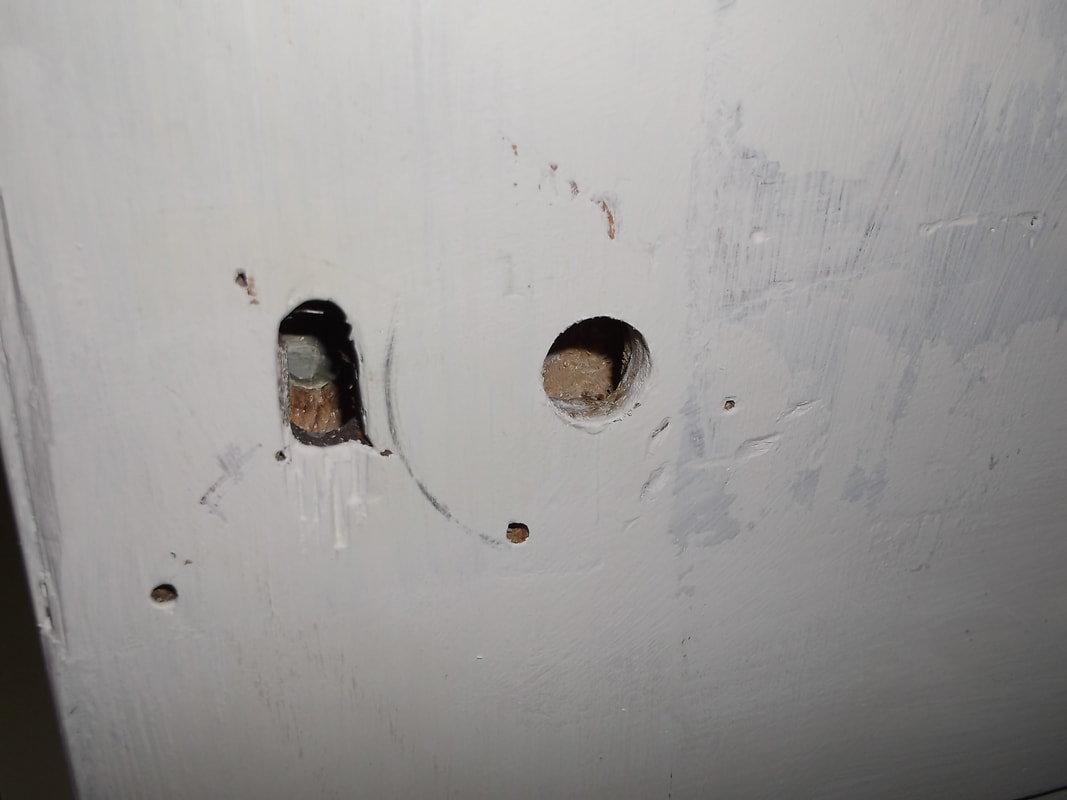
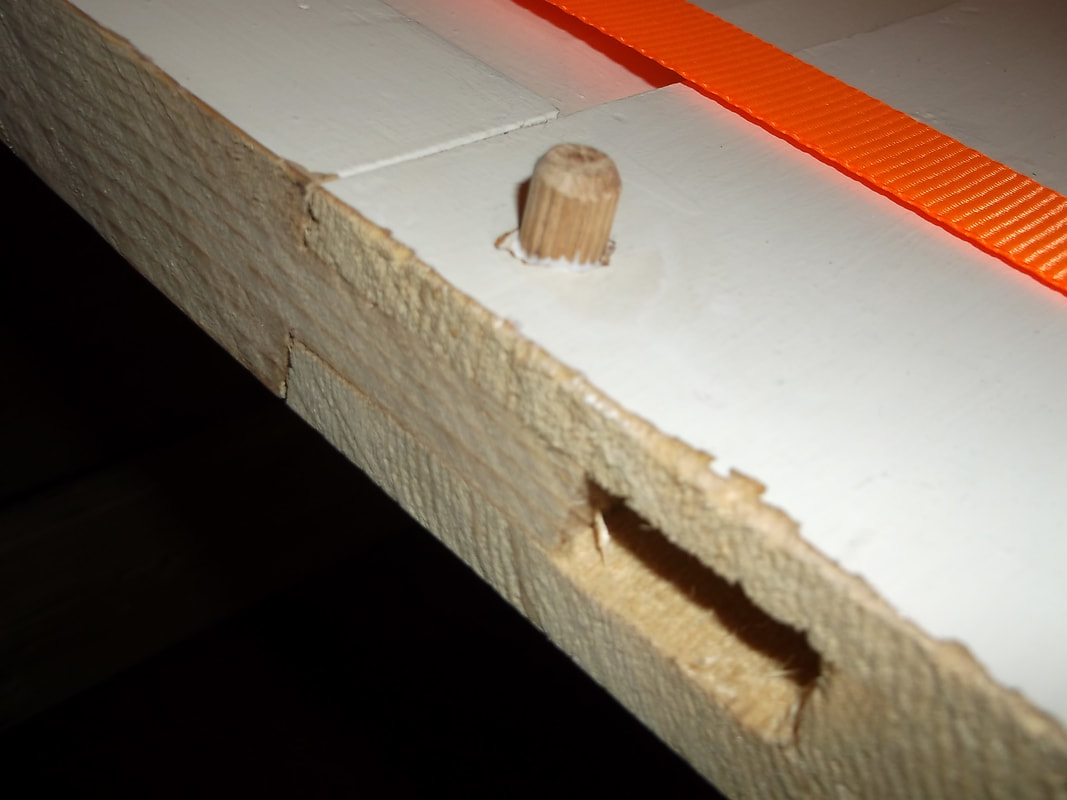
The door handle and key hole also had to be filled along with some old mounting screw holes. This picture shows the inside of the door.
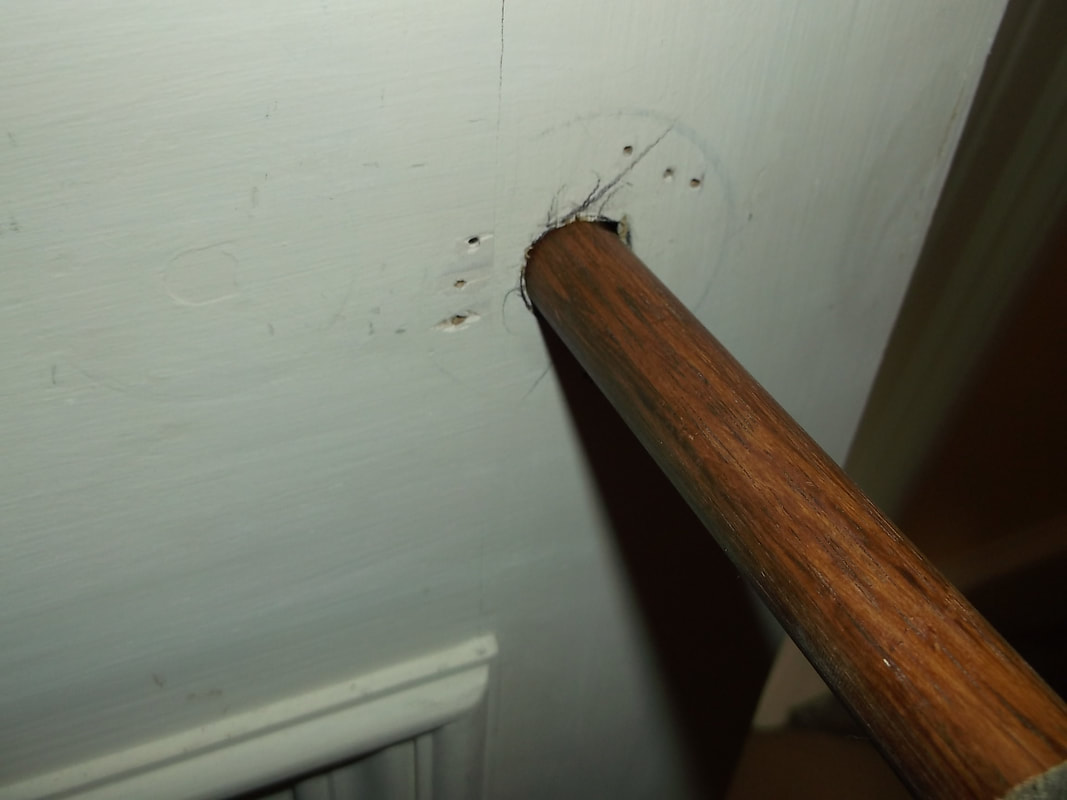
To fill the door handle hole an old piece of wooden dowel was used. The holes on either side were slightly different in size so the dowel was trimmed at one end using a chisel and pushed through both holes.

After the glue had dried, both ends of the dowel were carefully planed and sanded to provide a flush finish with the door surface. The old handle mounting screw holes were filled with wood filler and sanded smooth.
|
When all the repairs were complete the door was washed down with sugar soap to remove grease and dirt that would have accumulated over the years in storage.
After rinsing and allowing the door to dry the door was primed and undercoated twice to provide a good coverage over the areas of bare wood.
The door was then rubbed down with fine sand paper to remove any remaining surface imperfections and vacuumed and washed to remove the dust.
After applying gloss paint the door was left to dry for 24 hours.
The hinges were then installed and the door was hung in the frame.
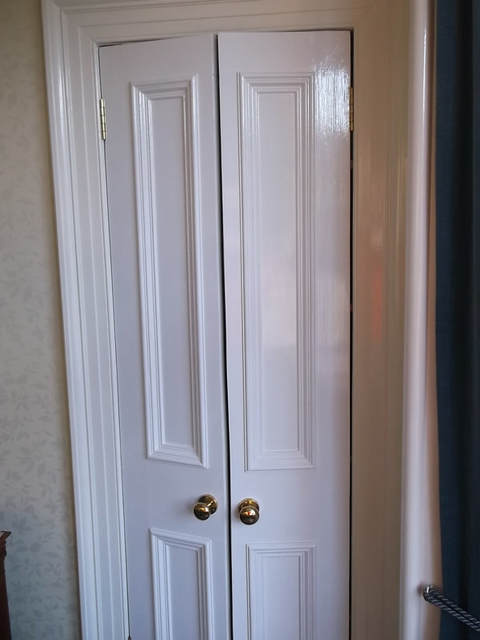
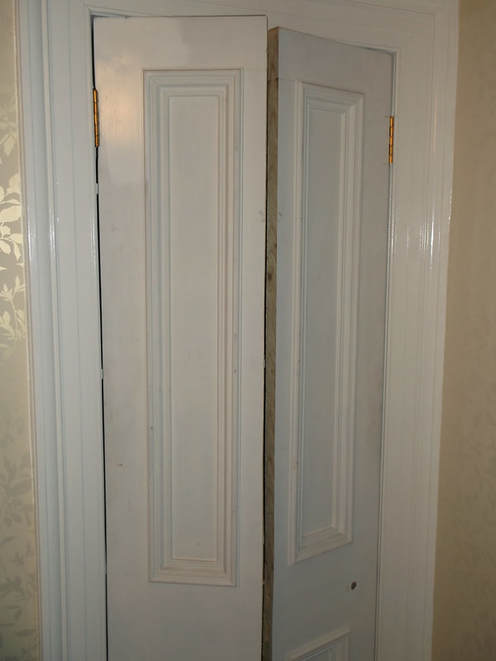
In this picture the door has been hung and the brass door handles installed.
The contents of the cupboard can now be accessed using one or both halves of the door without having to move other pieces of furniture which is what made the original door inconvenient to have in place.

This picture shows a close up of the brass door handles installed. These were purchased around 1995(approximately) and i had been storing them since as i had no immediate use for them.
They match the other door handles used around the house.
I am glad i am finally getting some use for them as i was beginning to tire of the space they took up in a drawer and that taken up by the door....however, reduce, reuse, recycle has saved a trip to the recycling yard again!
