Braun Contour 5735/5895 Rechargeable Shaver Repair/Refurbishment
Background
This Braun rechargeable shaver is from around 2007-2009 and was a popular model from around that time. It also had its own self cleaning and charging station. Over time the shaver performance gradually decreased and the shaving time between recharging decreased. This indicates that the batteries were nearing the end of their life.
Sadly, in the UK repair shops are few and far between and the economic viability of repairs makes it a difficult way to make a living and often users are happy to throw away the shaver and purchase a new one rather than repair their current one. Manufacturers often encourage this behavior by making spare parts difficult to obtain.
Braun shavers are well made and with care can usually be dismantled. I decided to take this on and see if i could repair this shaver and extend its life.
The first task was to figure out how to get access to the inside of the shaver.
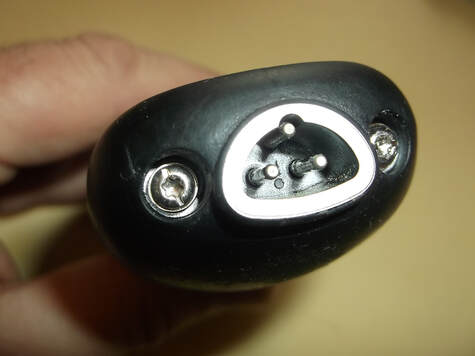
The end of the shaver had two plastic caps which covered these securing screws.
When the plastic caps were removed a Torx bit was used to loosen and remove the screws.
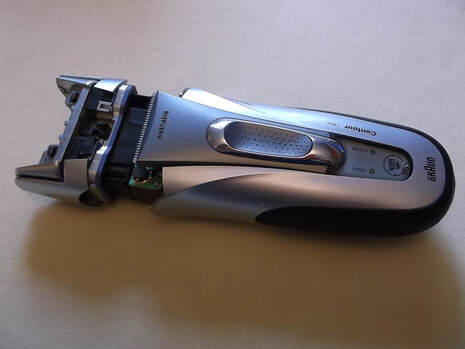
With the securing screws removed the entire internal workings of the shaver could be removed by carefully pulling on the shaver head.
This picture shows the shaving foil and head removed and safely stored to avoid damage while the work was carried out
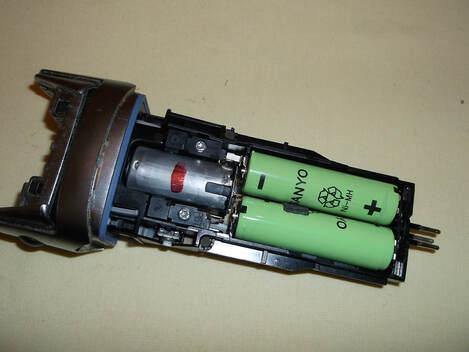
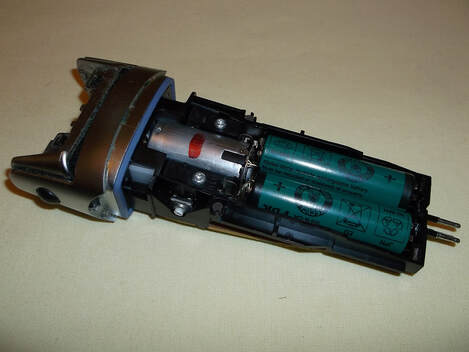
Withe internal body of the shaver the removed the batteries were exposed.
In this picture the original batteries are shown. These are two Sanyo Cadnica 1.2V AA NiMH cells.
Fortunately these are the easily removable type which require no soldering as they have special end pieces which secure them in place.
The down side of this is that there are relatively few sources for them.
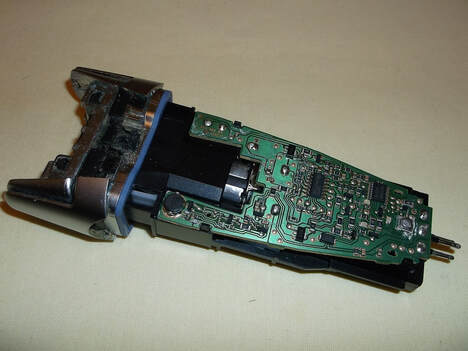
This picture shows the circuit board of the shaver.
It controls the charging of the battery, the operation of the motor and the charging and cleaning interval LED's on the front panel.
While the shaver was dismantled the motor and mechanical parts were examined to ensure no other repairs or spare parts were required.
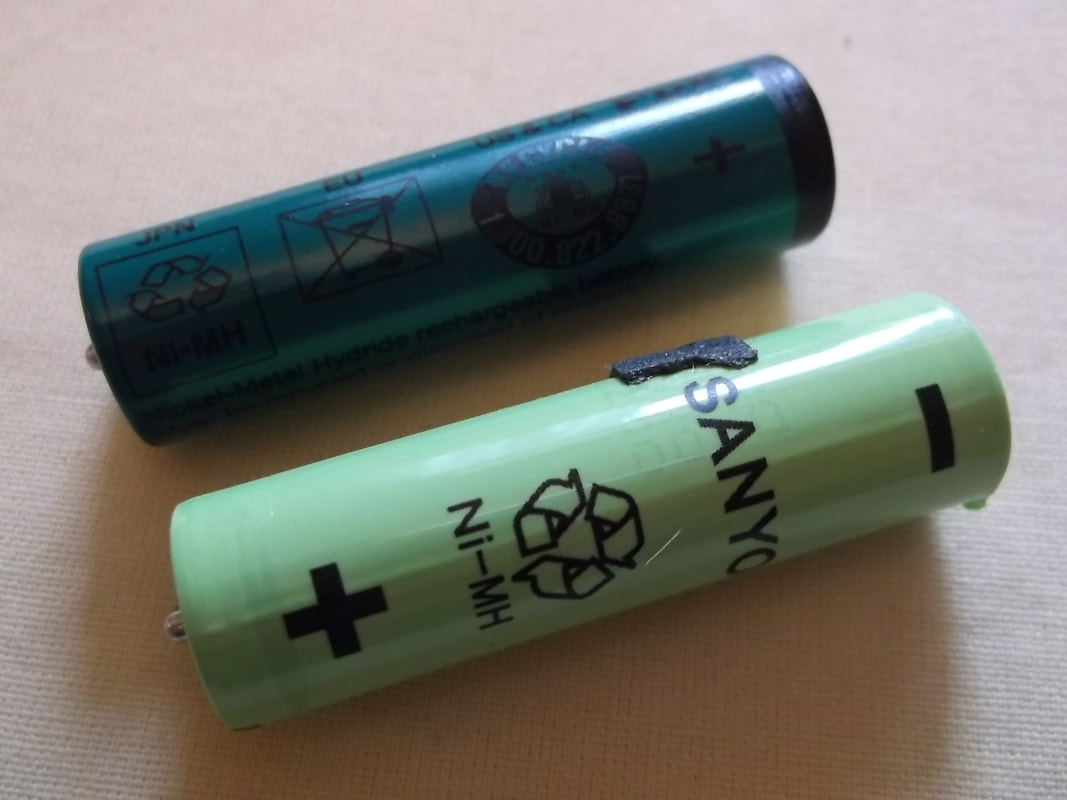
Here one of the new battery's(top) is shown together with one of the original battery's.
After the source of replacement batteries was identified they were ordered on-line and delivered within a few days.
The old worn out batteries were popped out of the holders and the new ones carefully installed.
While the shaver was disassembled it was cleaned and the motor and shaver head oiled where required.
The shaver was then carefully re-assembled and left to charge for a few hours.

This picture shows the cleaned and refurbished shaver just before the casing is closed up again. Because this shaver can be cleaned under a water tap it was important to ensure that all the rubber seals were cleaned and checked before final re-assembly to prevent water getting inside.
The shaver repair has been very successful. The battery replacement has increased the shaving time between recharges from 2-3 days to 6-7 days. The cleaning and refurbishment has also helped improve the smoothness of the shavers operation. The replacement batteries cost approximately GBP15.00 including shipping. The time spent on repairs, researching and ordering parts was less than 2.5 hours. Given that a comparable replacement shaver cost in excess of £120 the repair was well worth while.
