Background
Recently my mothers door bell button self destructed and sprung apart on her door step much to my uncles surprise when he pressed it! Although it is very old, greater than 35 years since i fitted it i thought i would give it a chance of an extended life and try to repair it. Below is the background to the repairs.
Some time after the door bell button was last pressed it self destructed!
The internal securing mechanism failed and the spring loaded button shot out and landed on the door step.
I found the button lying on the other side of the step.
Fortunately the spring had remained in place inside the body of the door bell.
The internal securing mechanism failed and the spring loaded button shot out and landed on the door step.
I found the button lying on the other side of the step.
Fortunately the spring had remained in place inside the body of the door bell.
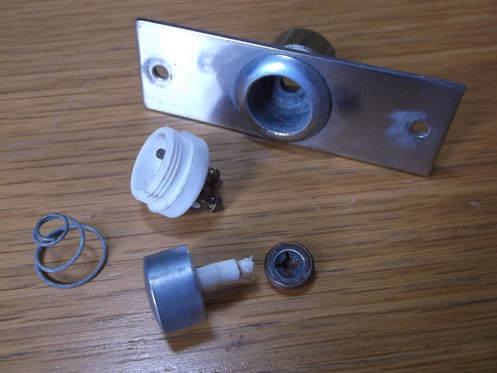
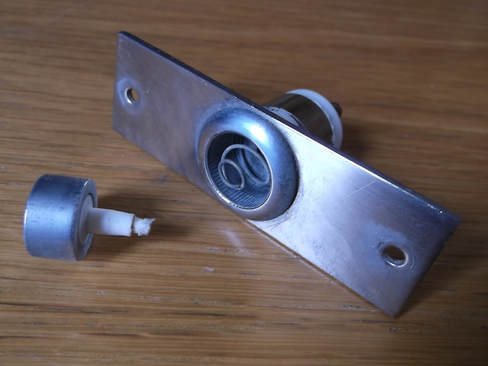
I removed the door bell mechanism from the door frame and dismantled it completely to see if i had all the parts and to see if it was repairable.
The brass press fit washer/dome at the bottom right of the picture serves two purposes.
1. It secures the push button in the housing.
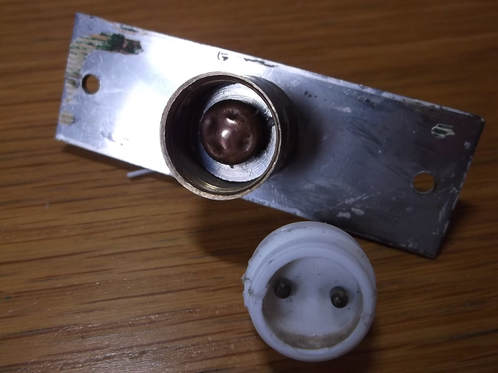
2. It shorts the terminals inside the white screw on end cap to complete the electrical circuit that sounds the bell.
The brass washer/dome had come off the plastic shaft allowing the button to spring out of the mechanism. Fortunately the brass washer/dome was retained inside the body of the button mechanism.
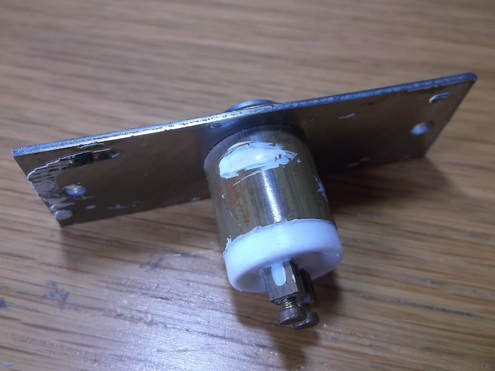
The spring and button were assembled into the button housing.
A suitable amount of hot weld glue was applied to the brass washer/dome.
The brass washer/dome was then quickly applied to the plastic stalk on the end of the button and firmly held in place for a few seconds.

To allow a secure bond to form, the button mechanism and the brass washer/dome were held in place for a few hours to allow the hot weld glue to cool and fully set.
The parts were held in place by a small ratchet clamp.
When the hot weld glue had fully set the repaired button mechanism was cleaned and polished.
The electrical contacts were cleaned and all the parts were re-assembled.
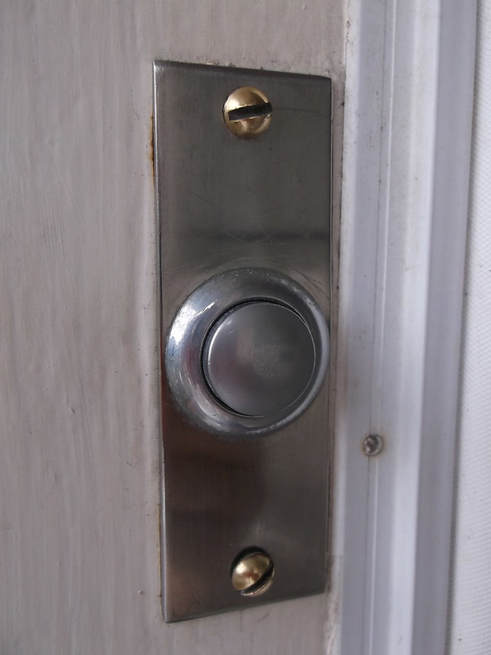
The button was polished and remounted with the brass screws also being polished.
The repair took about 45 minutes from start to finish, about 15 minutes of that being to allow the hot weld glue gun to heat up to operating temperature.
It was only a small job but the button is a good quality stainless steel one which was worth some effort to repair. Repairing it meant that there was no need to repaint the surrounding paint work in the event the replacement was of a slightly smaller size.
The button has been in use for over 35 years as of 2018 so here's to another 35 years!
