Background
I had specific requirements for the steps:
After a lot of research and consideration i decided that i would use a different approach to the construction of the steps. Rather than use the traditional sloping piece of wood with the risers cut into it, i decided to construct the steps using only vertical and horizontal pieces of wood connected together with nuts, bolts, sections of stainless steel rod and coach screws.
The advantage of this type of construction is that all the forces placed on the decking frame are vertical( and therefore down into the ground) rather than partly horizontal and vertical as in the traditional construction method which puts a large horizontal force on the decking, in effect trying to push it over.
- They must be very stable
- They must not be steep, allowing elderly and disabled people to use them.
- They should be wide so that two people could be on them at the same time, one person assisting the other.
- They should be easily detachable to allow maintenance to the steps and the decking frame.
After a lot of research and consideration i decided that i would use a different approach to the construction of the steps. Rather than use the traditional sloping piece of wood with the risers cut into it, i decided to construct the steps using only vertical and horizontal pieces of wood connected together with nuts, bolts, sections of stainless steel rod and coach screws.
The advantage of this type of construction is that all the forces placed on the decking frame are vertical( and therefore down into the ground) rather than partly horizontal and vertical as in the traditional construction method which puts a large horizontal force on the decking, in effect trying to push it over.
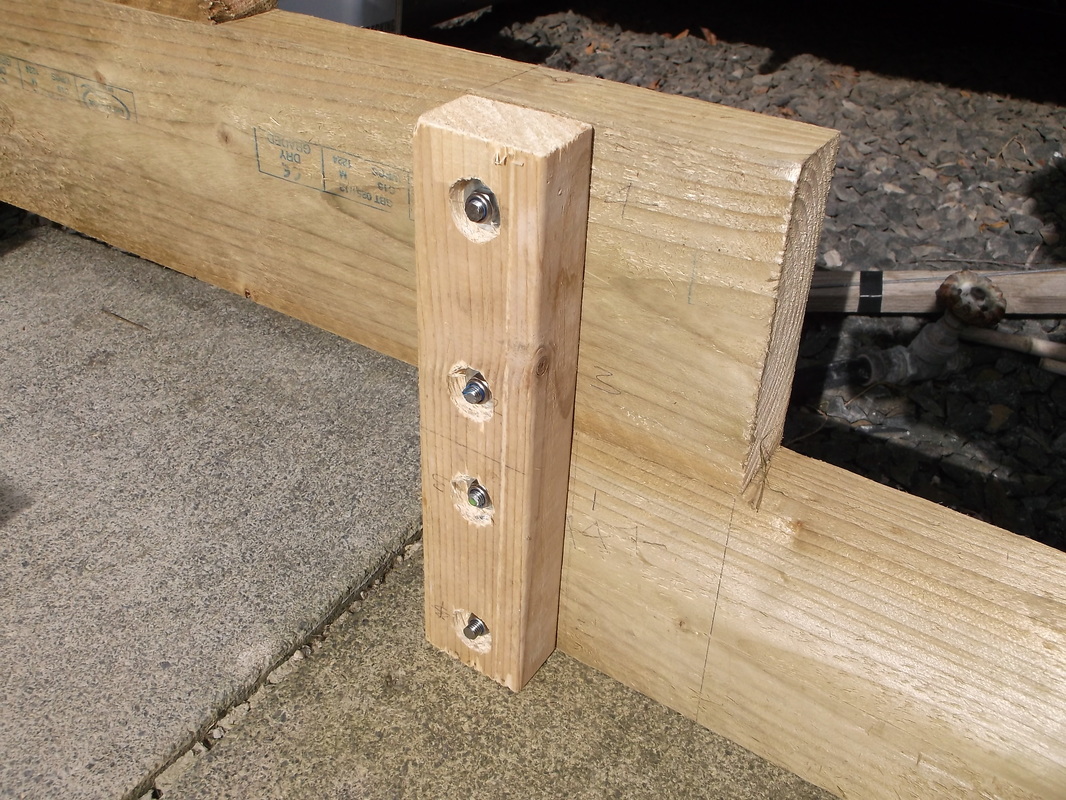
The stair frame was constructed from the same wood used to construct the decking frame.(150mm x 50mm) I had some leftover lengths from the decking frame so i used these but i did have to purchase an extra length to make the steps. The lengths of wood used to make the sides/riser were connected together using lengths of wood secured in place with 68mm x 38mm lengths held together with M8 stainless steel rods and M8 stainless steel nloc nuts.
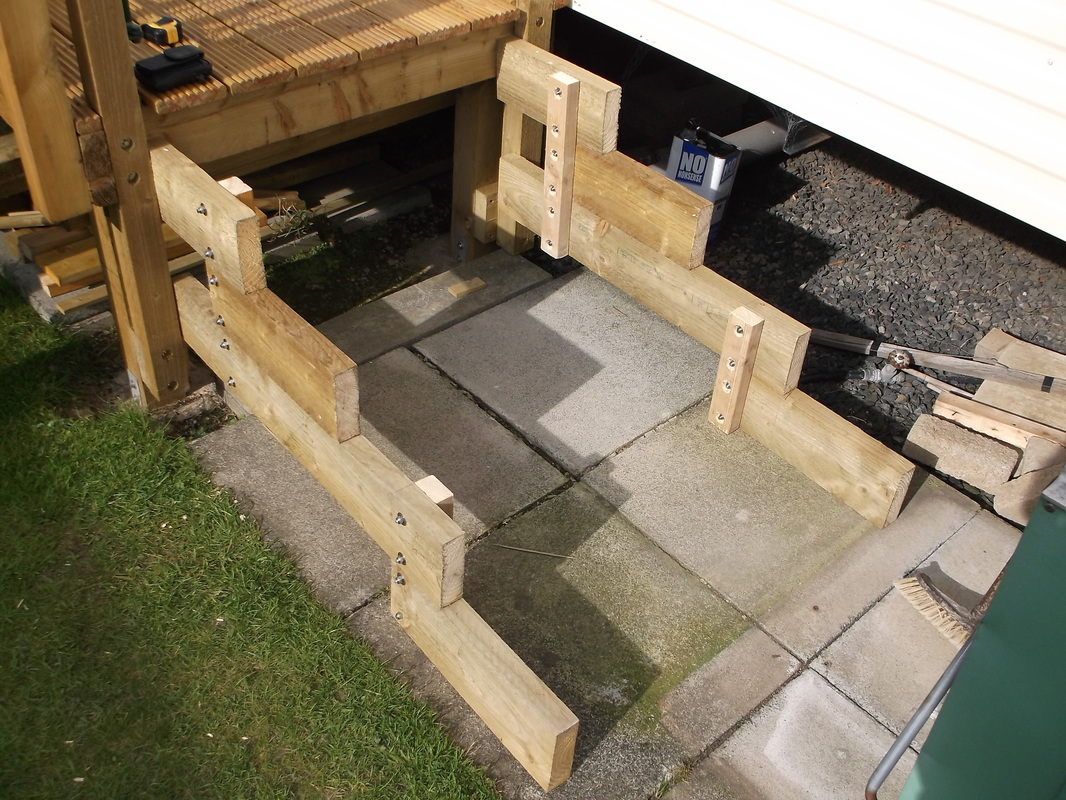
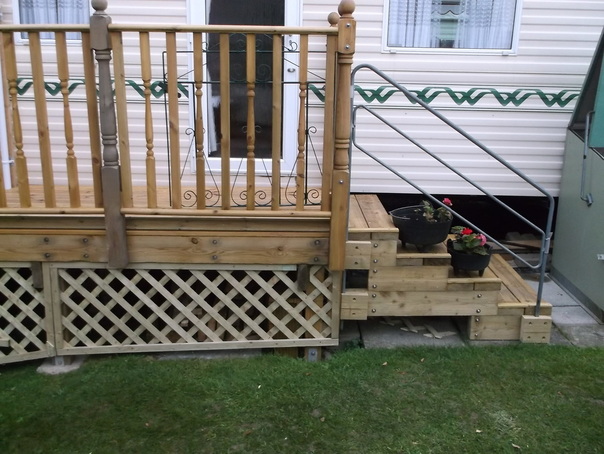
This picture shows the two sides of the stair frame set in place to check for alignment and level. When finally installed, the stair frame will sit on blocks attached to the decking frame to hold it in place. It will not be secured to the frame with screws or bolts etc. The design is such that the if the ground is level the stairs will not move or rock.
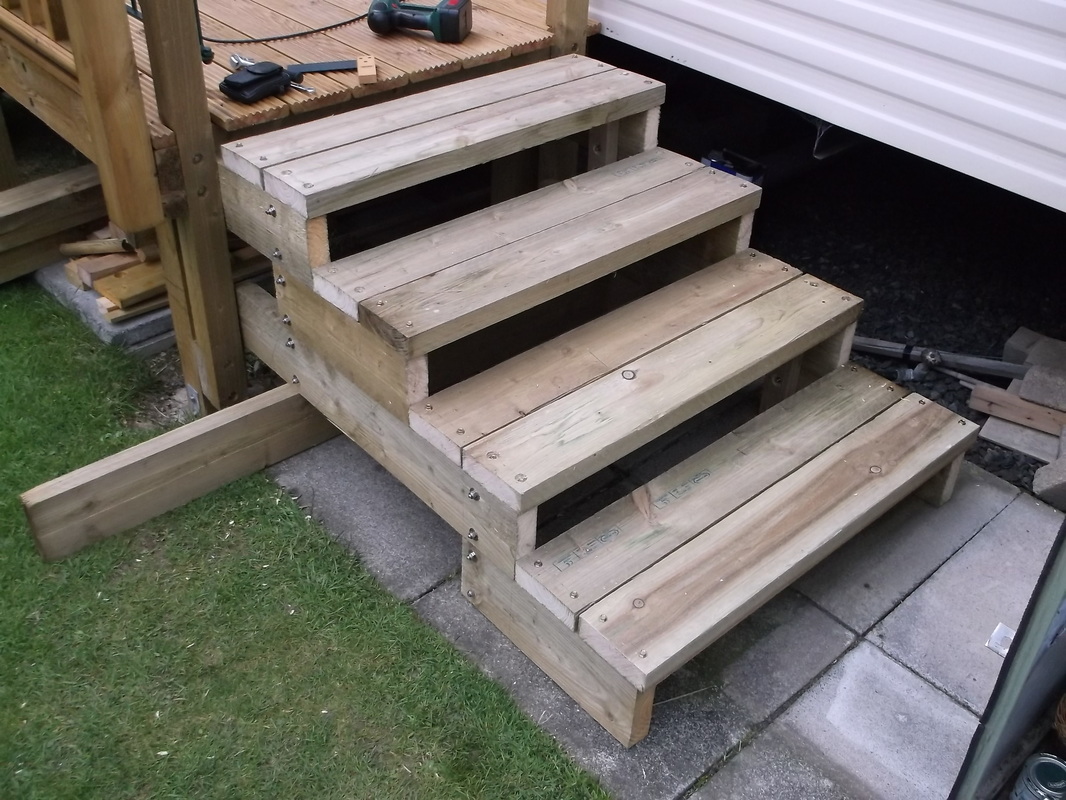
Here the steps have all been secured in place and a spare length of frame has been used to support the steps so that the alignment of the steps against the decking can be checked. Even without the final position set the stairs were very stable and easy and comfortable to walk up and down.
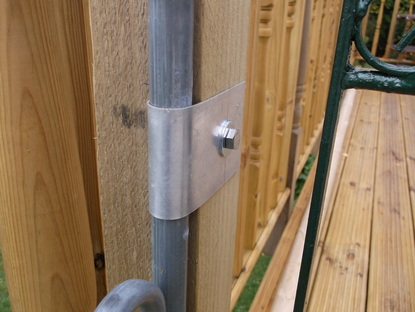
I took some time to decide what type of hand rail to install on the steps. The obvious option was to create a handrail using the same parts as were used to make the hand rails on the decking. After a bit of thought i decided to re-use the metal handrail from the steps that were previously used to enter the caravan and that had been temporarily used after the decking was completed. The rail was secured in place using a piece of aluminium plate folded around the handrail and secured in place using a coach screw.
|
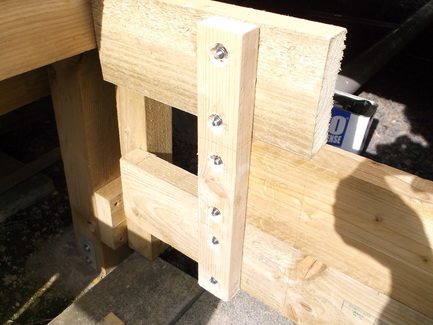
The same construction using a longer length of wood was used for the upper section of the stairs.
The nuts were recessed to try to protect them from the worst of the weather and to get the most efficient usage of the stainless steel rods from the available 300mm lengths. 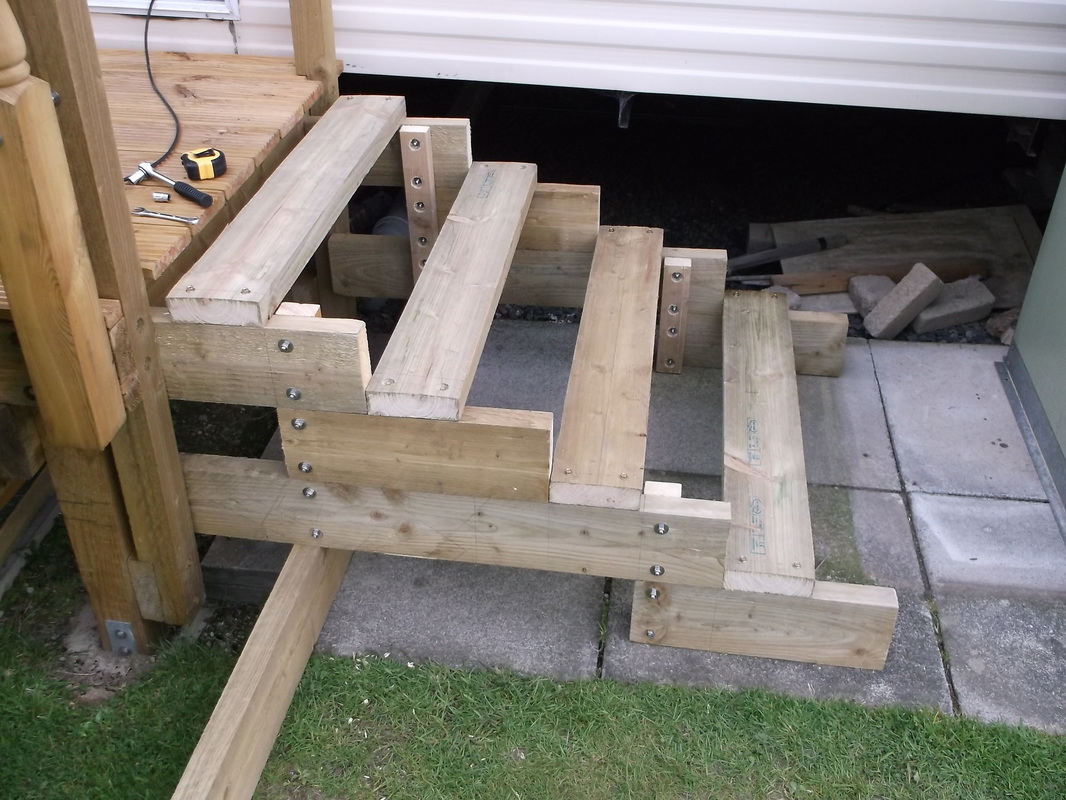
This picture shows the sides set in place and the first half of the steps laid in place. The first half of the top step was secured in place followed by the first half of the bottom step. This set the correct spacing of the sides. Next the first half of the two middle steps were secured in place to finalise the spacing of the sides.
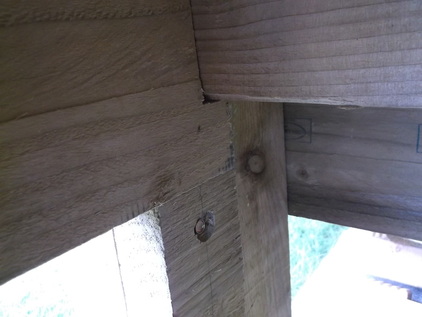
Here the blocks supporting the steps have been put in place on the decking frame(one of the securing bolts is visible.) The stair frame has been notched as can be seen at the top of the photograph to allow the m to sit correctly on the decking frame. A second supporting block was installed lower down to support the lower section of the stair frame.
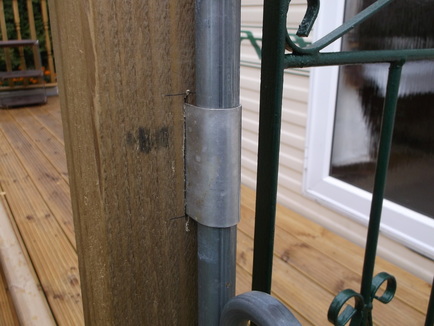
A slot was carefully cut in the gatepost using an electric multi-tool with a plunge blade attachment. The aluminium plate was pushed into the slot and secured in place at the side of the gate post giving a very firm fit ensuring the handrail is stable when being used by an elderly or infirm person.
The lower ends of the handrail were held in place using wooden blocks with appropriate slots cut in them attached to the side of the stair frame with coach screws. |
Here the handrail can be seen secured to the sides of the stairs.
The three wooden blocks securing the lower ends of the hand rail can be seen, two at the left hand side of the steps and one at the right.
To avoid having the bottom step of the stairs sitting on the concrete slab, nylon headed nails, with a 28mm nylon head were driven into the underside of the sides so that there was a 5mm clearance. This should avoid damp rot and allow rain water to drain away keeping the wood dry.
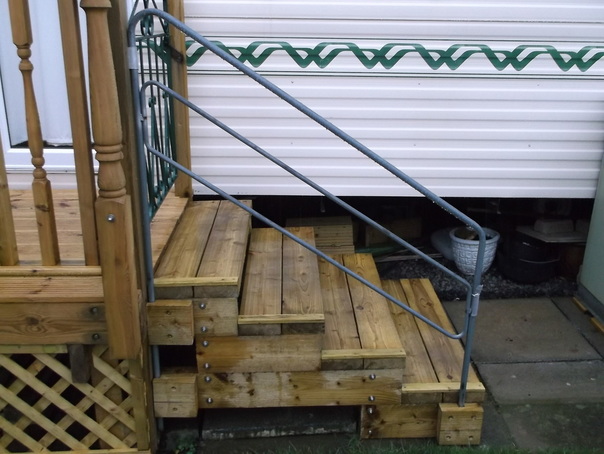
This is a close up of the stair and handrail construction.
The blocks holding the handrail in position on the side of the stairs can be seen quite clearly.
The only securing connection between the stairs and the rest of the decking is the coach screw securing the metal bracket holding the handrail in place to the gate post.
The exposed woodwork of the steps were treated with decking oil to protect them from water over the winter.
I have not decided yet whether to leave the surface of the steps as they are or to cover them with sections of decking or cover with ridged rubber material.
