Background
A neighbour's LCD Flat Panel TV recently started to behave oddly. It was difficult to switch on and when it did finally come on it would switch itself off after about 10 minutes. Gradually this got worse and the units behavior got worse until it would power on and then immediately power off and the blue LED light on the front panel would flash erratically. I took a look at the TV and i could hear the odd click and whine coming from the back. Given that the TV was estimated to be roughly 7 years old i immediately suspected that the power supply unit(PSU) was faulty and that one or more of the electrolytic capacitors on the board had failed.
I took the TV away to have a better look at it and to see if it could be repaired.
I took the TV away to have a better look at it and to see if it could be repaired.
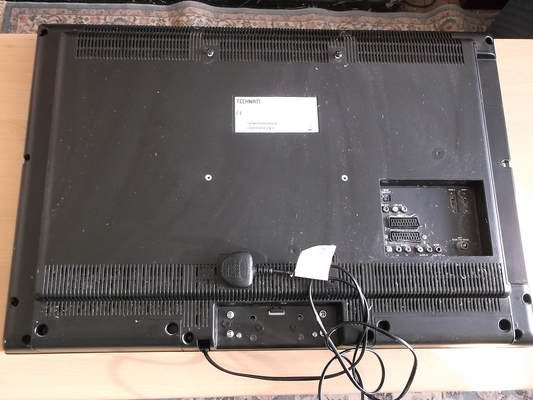
This is the rear of the TV after it was dismounted from its mounting bracket. The TV is used in a shed/cabin that is used for a small home working business.
Alot of dust and fluff had gathered over the years. Before dismantling the casing i removed as much of the dust and fluff as possible so that it would not fall inside the casing.
The TV Make is Technika and the model is LCD32-209, a 32 inch flat panel LCD TV. The Technika brand is used by one of the large supermarkets in the UK and Europe.
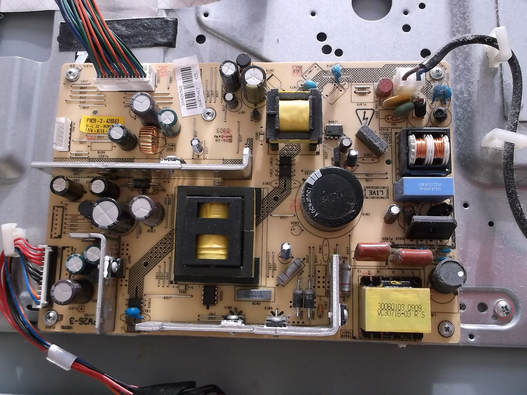
The PSU is made by Vestel and the model number is 17PW26-3. This is a popular PSU used by many brands of LCD TV.
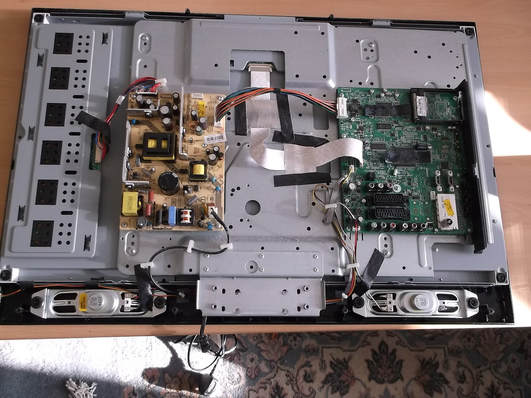
With the back cover off and the TV carefully supported facing down to protect the screen from damage the internals of the unit could be seen.
On the far left is the screen backlighting unit, in the middle is the PSU and on the right is the receiver,decoder, screen driver board.
The two speakers are mounted at the bottom of the case.
I examined the PSU and could see some signs that a few of the capacitors were bulging but only slightly. I checked on line and found that a schematic diagram was available. I also found that second hand salvaged PSU units were available and also various repair kits with replacement capacitors, diodes and transistors.
At the time of writing(February 2018) a replacement PSU costs typically GBP30, kits of repair parts range from GBP8 to GBP15 depending on the parts included and a brand new comparable TV costs at least GBP160. So it was worth attempting to fix the TV and get a good many more years out of it.
Because i was able to get a circuit diagram i was able to identify the possible failed parts and match them up with the actual values on the circuit board.
I was confident that replacing only the capacitors was a good first step as the TV was still able to power up even if only partly which indicated that the main semiconductors had not been damaged. If the TV had not powered up at all then the easiest option would be to replace the PSU with a new/used one or spend the time installing all new power semi-conductors and capacitors in the power circuits.
In this picture the circuit board is shown before being removed from the TV and cleaned.
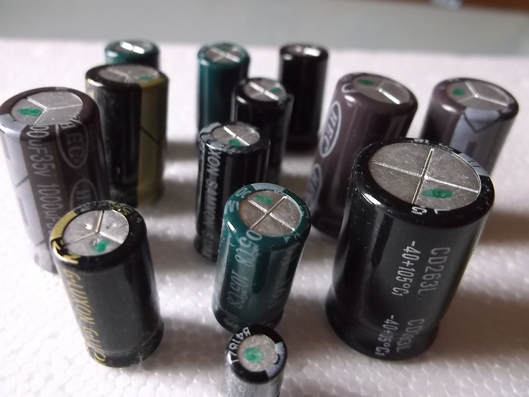
This picture shows the 13 electrolytic capacitors that were removed from the circuit board.
The three capacitors on the 24V supply output looked the most likely to have failed as there was what looked to be slight bulging and they had also slightly lifted one side of the case from the PCB so were lying at an angle(not always a reliable sign of failure).
The capacitors were all marked with a marker pen and then replaced one at a time to make sure there were no errors.
Removing the old ones and soldering in the new capacitors took about 60 minutes. The board was checked and cleaned to remove any solder splashes and bubbles.

The repaired PSU was re-installed into the back panel of the TV.
Pictures had been taken to ensure that all routing of cables and their connections could be checked.
The internal case was vacuumed and cleaned to remove all the dust and fluff that had accumulated over the years.
The date codes on some of the semiconductors confirmed that the TV was manufactured around the middle of 2009.
With the rear of the case still off the power was applied.
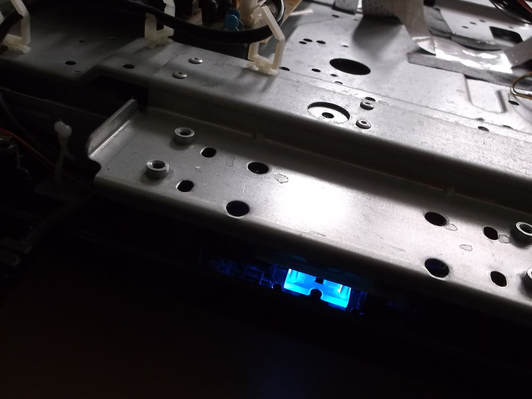
Success!... the view of the front panel blue LED from rear of the unit confirmed that the power was up. The fact that the LED was not switching on and off also confirmed that the power supply was more stable.
The TV was left with the blue LED on for 15 minutes to confirm that all was well. The output voltages at the connector were checked against those on the circuit diagram using a digital multi-meter.
The TV was switched on with no aerial connected to verify that it would power up and that the menu could be accessed.

A DVD player was connected up with the rear panel still removed and run for an hour to check that the PSU was still stable, the voltages at the output were checked several times to verify they were stable.
After the 'open case' test was complete the rear cover was attached and the DVD test repeated but this time with the TV upright and the screen visible. The TV was left for 2 hours to perform a 'mini burn-in'.
The cost of the capacitors was approximately GBP12, some of which i already had to hand. This compares with GBP30 for a second hand replacement PSU or a new TV costing GBP160. The most important things for me were that a perfectly usable TV was repaired avoiding all that plastic and precious metals being dumped in landfill or the sea.
