Background
My friend is a hairdresser and has used this trimmer for a number of years. Unfortunately the battery was no longer holding its charge and she was looking to replace the entire unit. The mechanism was in very good condition so i said that i would look at it and see if the battery could be easily replaced. In the end i stripped down the clipper and completely cleaned and refurbished it including replacing the Ni-Cd battery. Although it is quite possible to replace the battery the success of this type of small project is dependent on being able to remove the casings successfully without damaging them as they are very often designed to be assembled at the time of original manufacture and then disposed of at the end of its useful life. These products were often never designed to be disassembled or repaired.
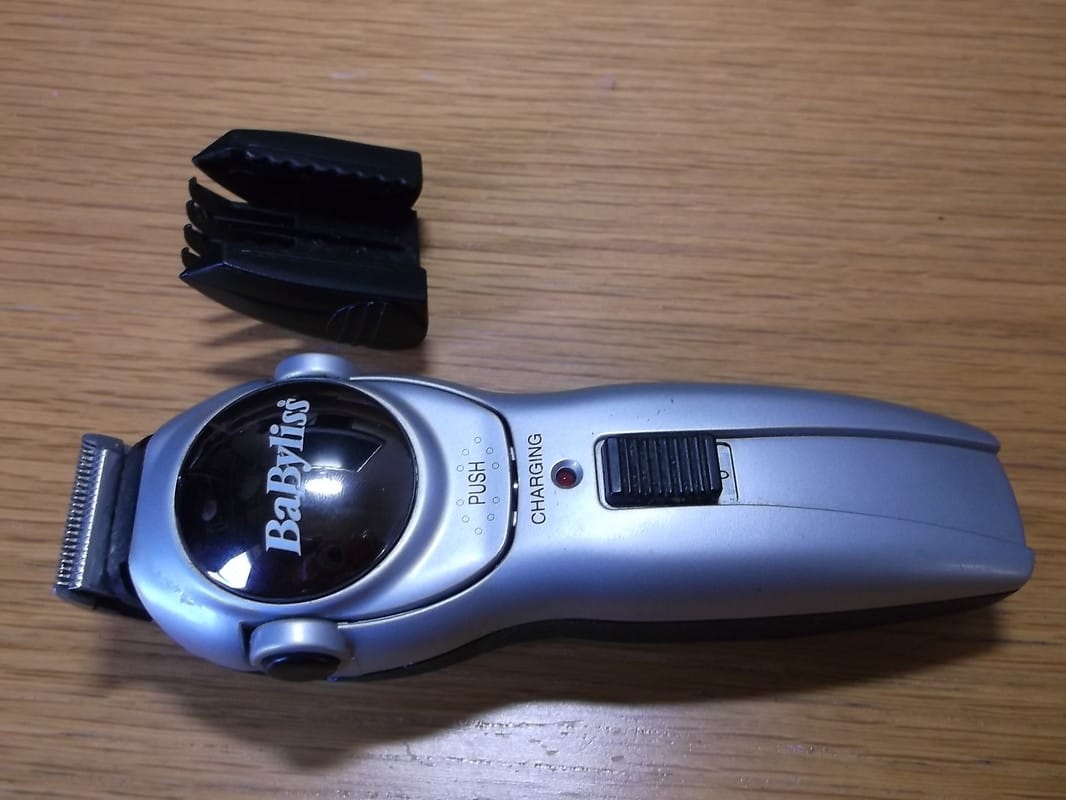
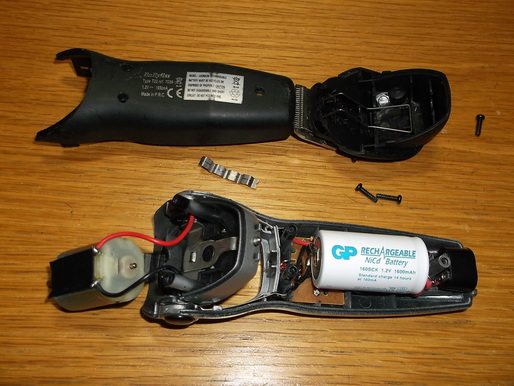 Trimmer dismantled into its major parts.
The first job was to carefully dismantle the trimmer to get access to the internal components.
Removing the three screws securing the case was easy but two plastic clips hidden in the movable head had to be carefully released to avoid breaking them and writing off the trimmer.
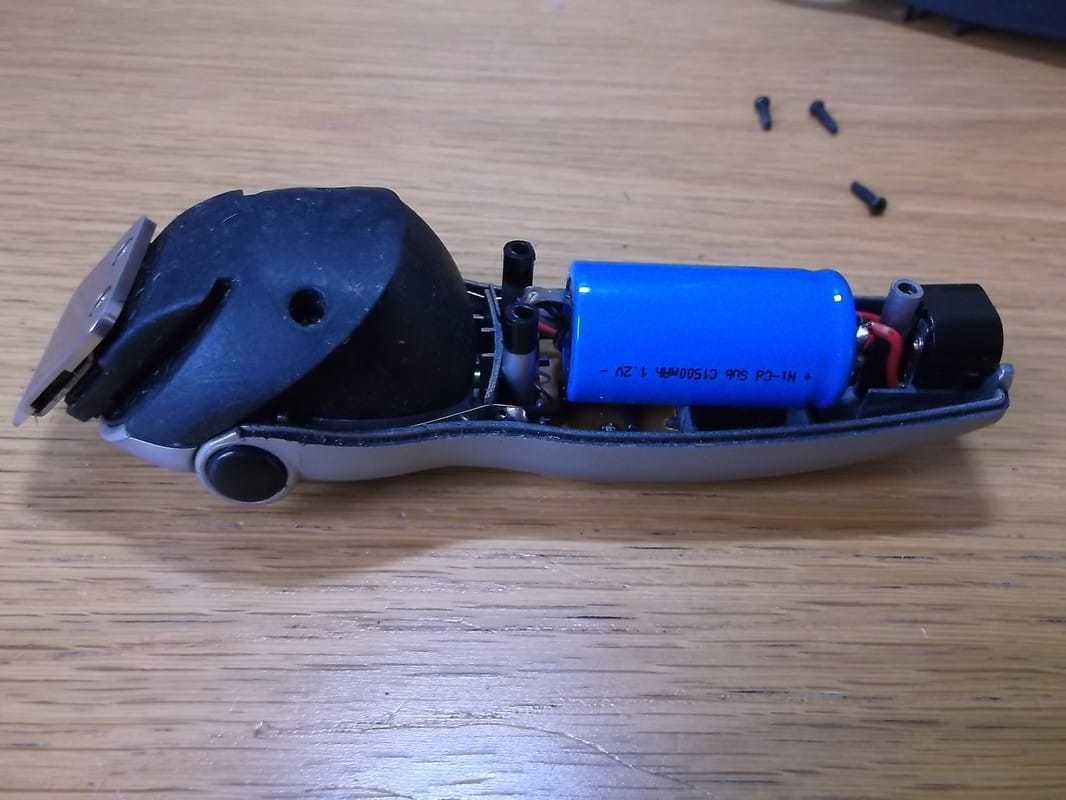
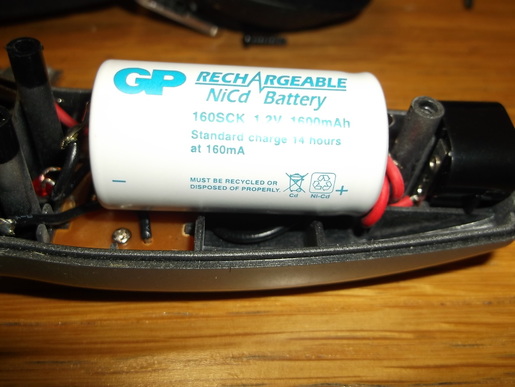 Rechargeable battery with charge circuit board below.
The battery is a Sub-C size type with a capacity of 1600mAh. (Dimensions: 41mm(L) x 22mm(diam).)
As of mid 2016 it is getting more difficult to get replacement Ni-Cd batteries as the industry is moving on to NiMH primarily due to the toxic effects of Ni-Cd which are not safely disposed of when they reach end of life.
The charging circuit is the simplest possible with a Ni-Cd battery, a series current limiting resistor and a DC volatge supply provided by an external mains adapter. The series resistor limits the charging current to a safe level while the battery charges.
It is very easy to damage these batteries by over charging them because they are left connected to the charger for longer than recommended. To minimise damage to the batteries using these very basic charging systems i use a mains timer which will switch off after the maximum charging time. In this case the charging time is 14 hours.
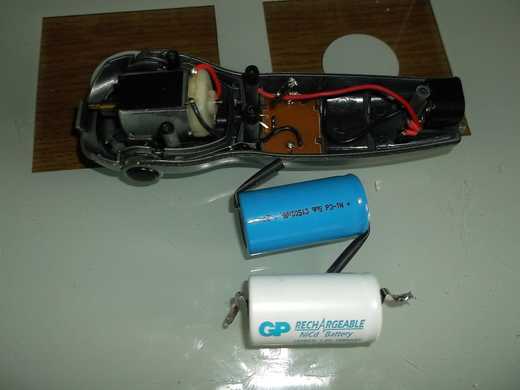 New and old old battery beside trimmer body.
Here the old battery has been de-soldered from the hair trimmer and placed in the foreground. The new battery is in the middle of the picture.
While the battery was removed the internals of the case were cleaned.
The wires connecting to the battery terminals were trimmed and prepared for soldering to the new battery.
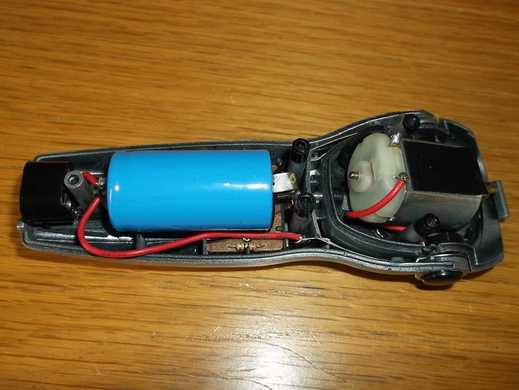 New NiCd battery installed in trimmer.
In this picture the new battery has been soldered in place. The current limiting resistor can just be seen beside the battery and the red wire.
The first half of the casing has been re-installed.
|
All the casings have been re-installed.
|
After all the casings were cleaned and re-installed the hair trimmer cutting blades were lightly oiled and the motor run for a few minutes. The trimmer was then charged for approximately 10 hours to fully charge the battery.
The battery cost GBP4.00 including postage and packing. The repair time was about 2 hours including ordering the parts on line. As all the major parts were in good condition, motor, cutting blades and cases it was well worth the effort to repair the trimmer. Another small electrical device saved from landfill or left in a drawer forgotten and unused.
The battery cost GBP4.00 including postage and packing. The repair time was about 2 hours including ordering the parts on line. As all the major parts were in good condition, motor, cutting blades and cases it was well worth the effort to repair the trimmer. Another small electrical device saved from landfill or left in a drawer forgotten and unused.
