Background
In the summer of 2015 while i was constructing the decking at my Mother's caravan my cousin and his wife very kindly donated some garden furniture that he no longer had any use for. There was a set of tables and chairs and and pair of chairs connected at an angle with table forming one unit. I refer to them as "chummy" chairs, the idea that while you are sitting with someone you are both pointed slightly towards one another rather than having to strain your neck talking to them. The table has the facility to take a sun brolly which is very useful but not going to get excessive use in Scotland given the very variable summers!
The furniture was going to be very useful on the decking but the connected table and chairs were going to be a little awkward as attractive as they are they were very difficult to use as they are very heavy as a unit. I decided to keep them as separate items allowing the chairs to be moved as required and converting the three table levels into a standalone unit.
Rather than use a lot of wood to connect the levels together i decided to make use of the stainless steel threaded rod i had used to construct the gate posts and make a "minimalist" supporting structure for the table allowing it to be a standalone item while still allowing the chairs to be arranged around it as originally intended or moved elsewhere.

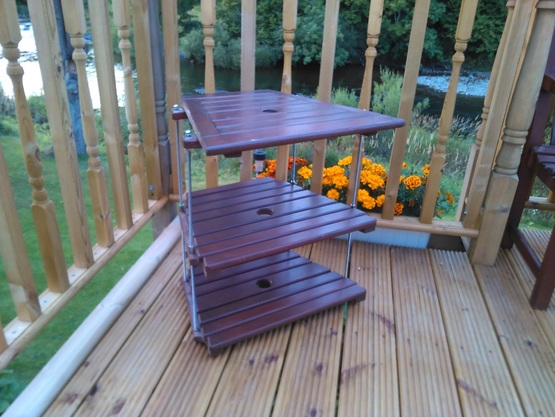
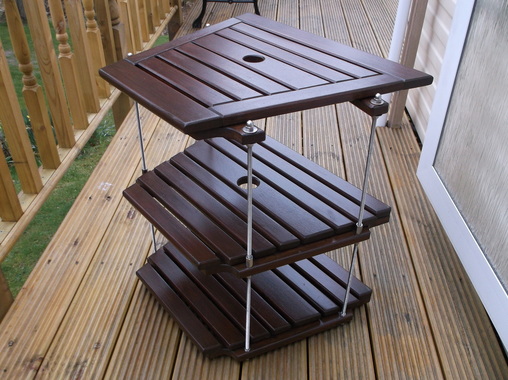
Here the chairs and table are shown in the original configuration they were intended to be however the three table levels are not attached in their intended positions. They are merely placed in position to show how they should be.
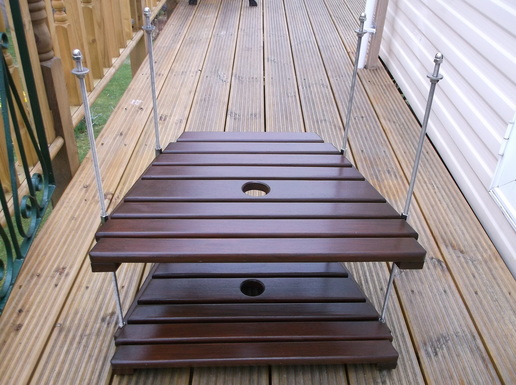
The intention was to keep the table in its original configuration, i.e. three layers equally spaced as close to their original level as possible and allowing it to be positioned between the chairs or used as a standalone table, i.e. side table, drinks table etc.
The table should also still be able to support a sun umbrella via the holes in the middle of the table.
A combination of stainless steel threaded rod, M6 ny-loc nuts, threaded rod joining nuts and domed nuts were used to connect the three levels together.
The wooden battens on the top table level had to be moved to align their holes with those on the two lower levels.
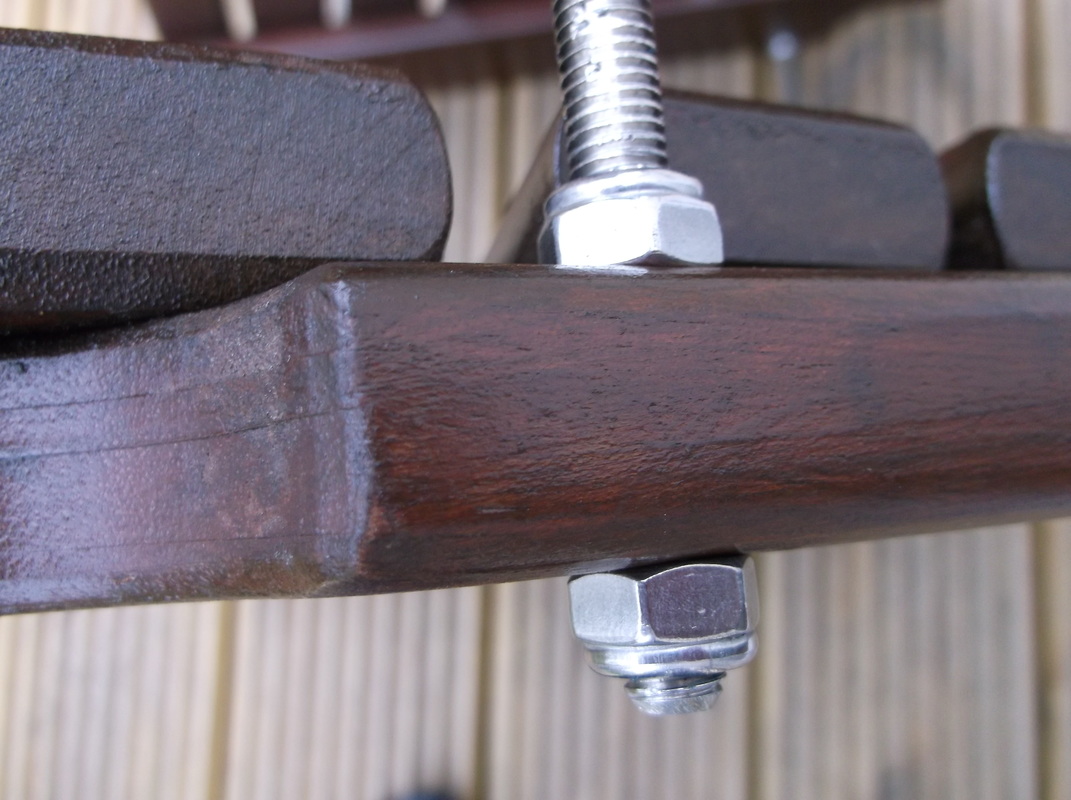
The ny-loc nuts were used to secure the levels in place and the dome nuts were used to provide a clean neat finish on the top level avoiding exposed sharp rod edges that could catch skin and clothing
After all the bolts were tightened the table became very stable and stiff and gave great use during the late summer of 2015. Over the winter of 2015/2016 the intention is to construct a base that will allow the table to be slid over the decking surface and allow a sun brolly base to be placed under it. It is also intended that the table wood work will be sanded and re-varnished to improve it's appearance and to protect it from the weathering.
Update: January 2016. Garden Drinks Table refurbishment.
I started the refurbishment of the table levels. The woodwork was thoroughly cleaned and dried then sanded using fine sandpaper to removed surface imperfections and prepare the woodwork for varnishing. After sanding the table levels were vacuumed to removed dust from the joins and less accessible areas then wiped down and dried. A first coat of varnish was then applied.
I started the refurbishment of the table levels. The woodwork was thoroughly cleaned and dried then sanded using fine sandpaper to removed surface imperfections and prepare the woodwork for varnishing. After sanding the table levels were vacuumed to removed dust from the joins and less accessible areas then wiped down and dried. A first coat of varnish was then applied.
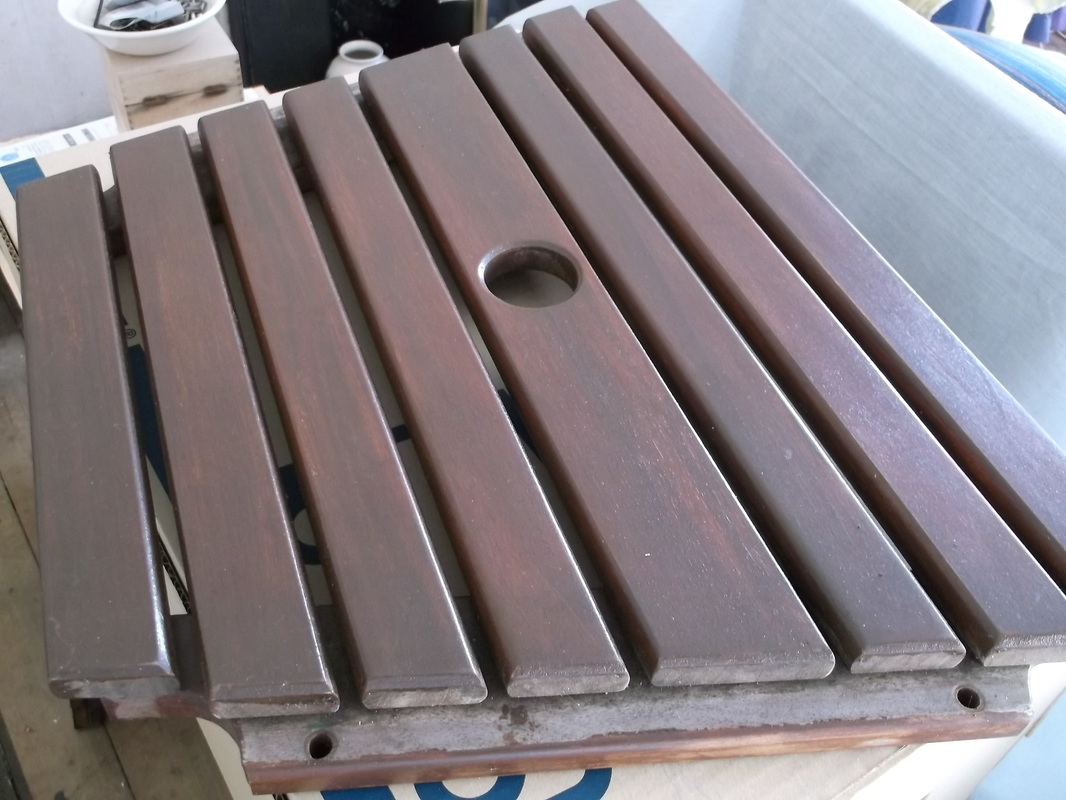
Bottom level prepared for varnishing.
|
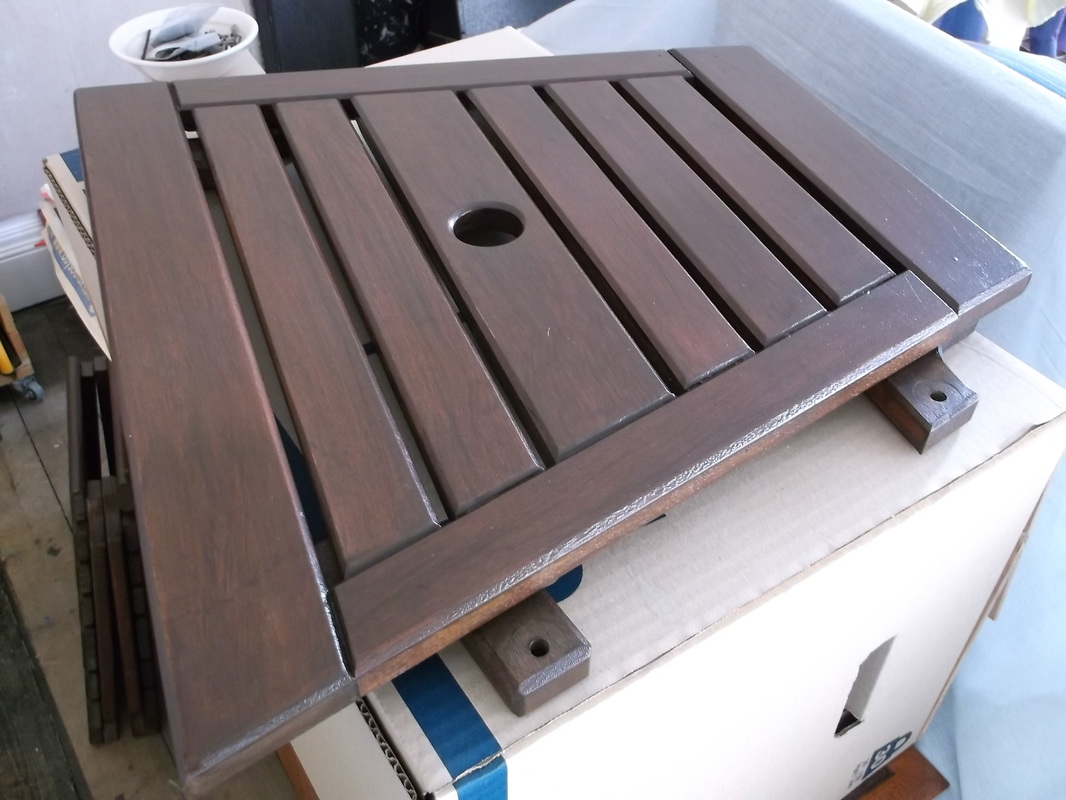
Top level prepared for varnishing.
|
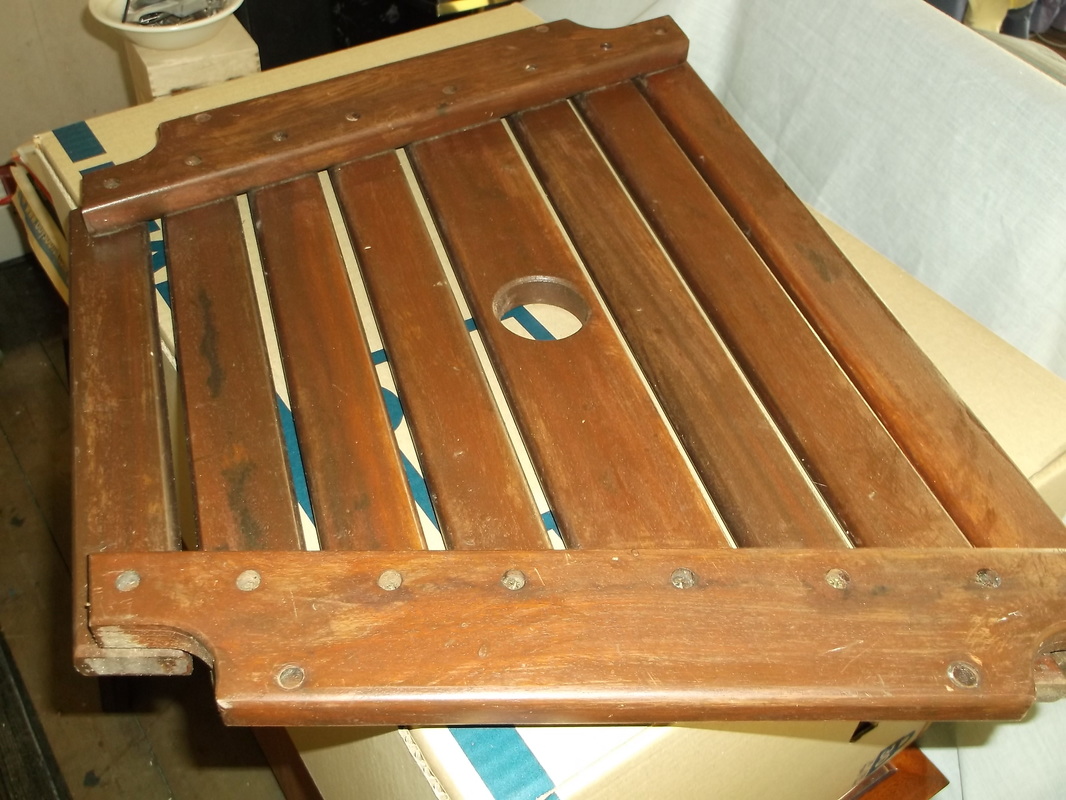
Underside of middle level prepared for varnishing.
|
The underside and mounting points of the table levels had not been protected in the past as they were attached to the chairs and all parts had been varnished as one large item. As a result the underside and exposed areas required a little more preparation than the rest of the woodwork. Three coats of stain/varnish were applied with a light sanding and cleaning between each coat. Then the table was re-assembled.
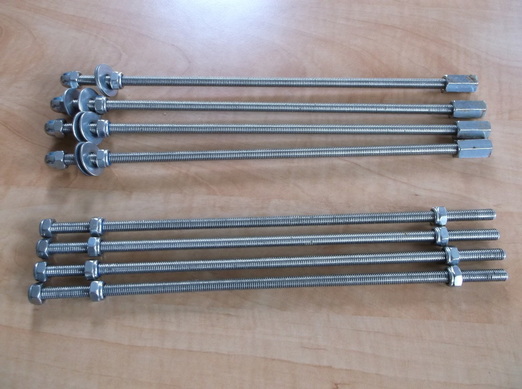
Here the supports between the different levels of the table are shown. Rather than make wooden supports which i felt would make the table look rather heavy and 'clunky' i opted to use stainless steel threaded rod connected together using joining sections, ny-loc nuts and domed nuts.
In this picture the nuts and joining sections have been set to the correct positions on the threaded rod ready to assemble the table.
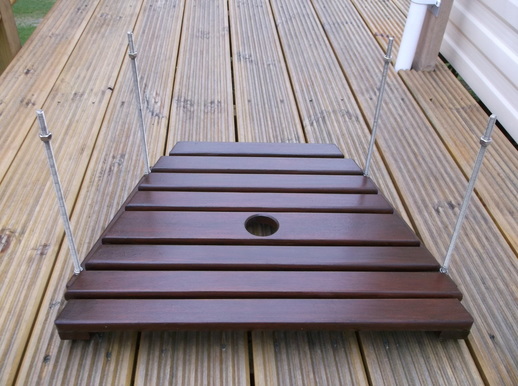
The bottom sections of threaded rod are connected to the base section of the table and the ny-loc nuts tightened.
The ny-loc nuts at the top of the threaded rod support the base of the middle section.
The section is placed onto the threaded rod and it is held in place by the threaded rod jointing sections/bolts.
The sections of threaded rod supporting the top level are then screwed into the joining sections.
Lower table joint details.
|
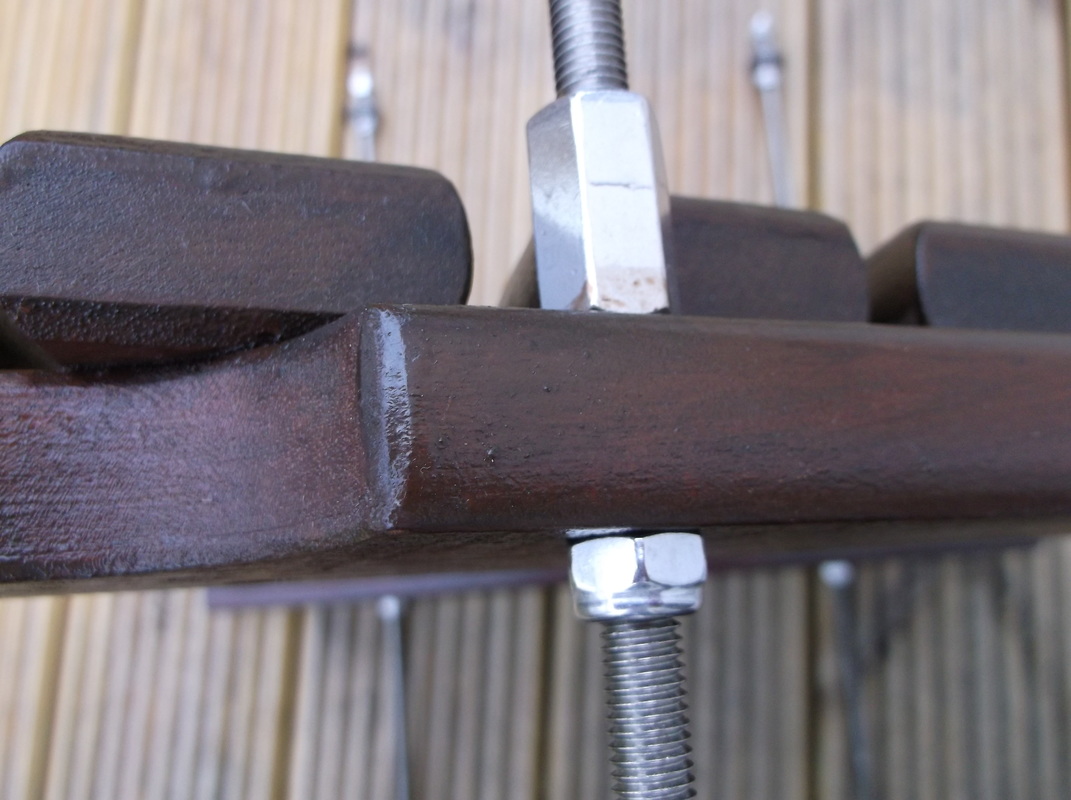
Middle table joint details showing the threaded rod joining section.
|
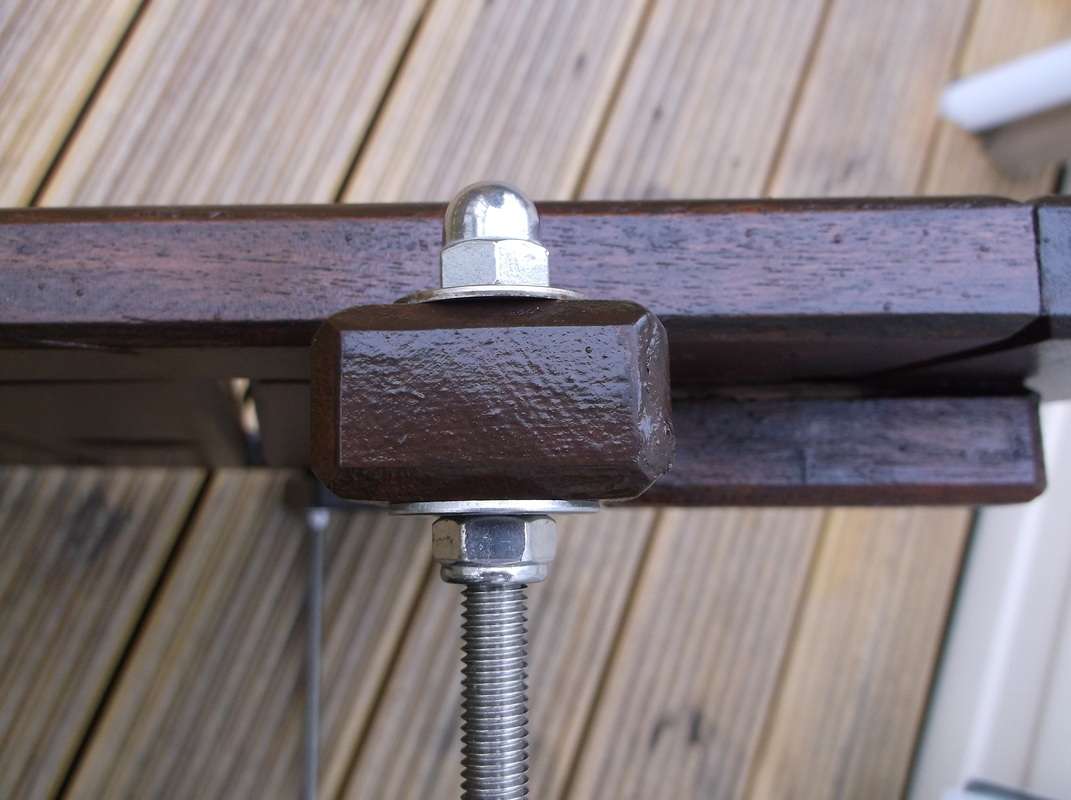
Upper table joint detail showing domed nuts.
|
The top section of table was then secured in place using domed nuts and washers.
The resulting structure is very stiff and stable and works very well when positioned between the two chairs it was originally attached to.
