Background
My neighbour has had a couple of these Halogen Heaters for a few years and she uses them to heat part of her small industrial unit where she runs a small business. They had served her well but two of the elements on each of the heaters had failed leaving only 1 x400 Watt element on each heater. She was intending to dispose of them and buy new replacement units. I thought that the elements could be replaced and suggested she let me have a try as although they are low cost units it would be a shame to dispose of them if they simply required new elements and it would eliminate a trip to the recycling yard and to buy new heaters and it is always interesting stripping a piece of hardware down to find out how it is made and how it works!
These heaters come in various sizes and styles. Although each element is usually 400 Watts, the elements vary in dimensions, typically 197mm, 215mm, 224mm and 242mm being the most common sizes.
These heaters come in various sizes and styles. Although each element is usually 400 Watts, the elements vary in dimensions, typically 197mm, 215mm, 224mm and 242mm being the most common sizes.
These halogen heaters have become very popular over the past 6-7 years and are widely used to heat small rooms and spaces or to provide local heating in larger open spaces. They usually have two or three heat settings and a rotary/oscillating function. Generally the heaters are made of low cost plastic and metal parts which to be quite frank are not of great quality and are very flimsy when dismantled but when screwed together are surprisingly rigid and robust. The two units i was trying to repair had taken a few knocks over the years.
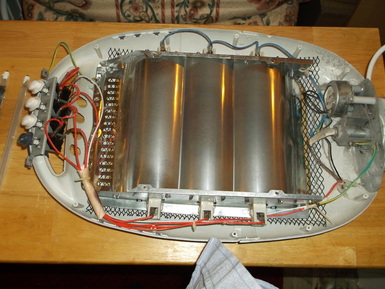
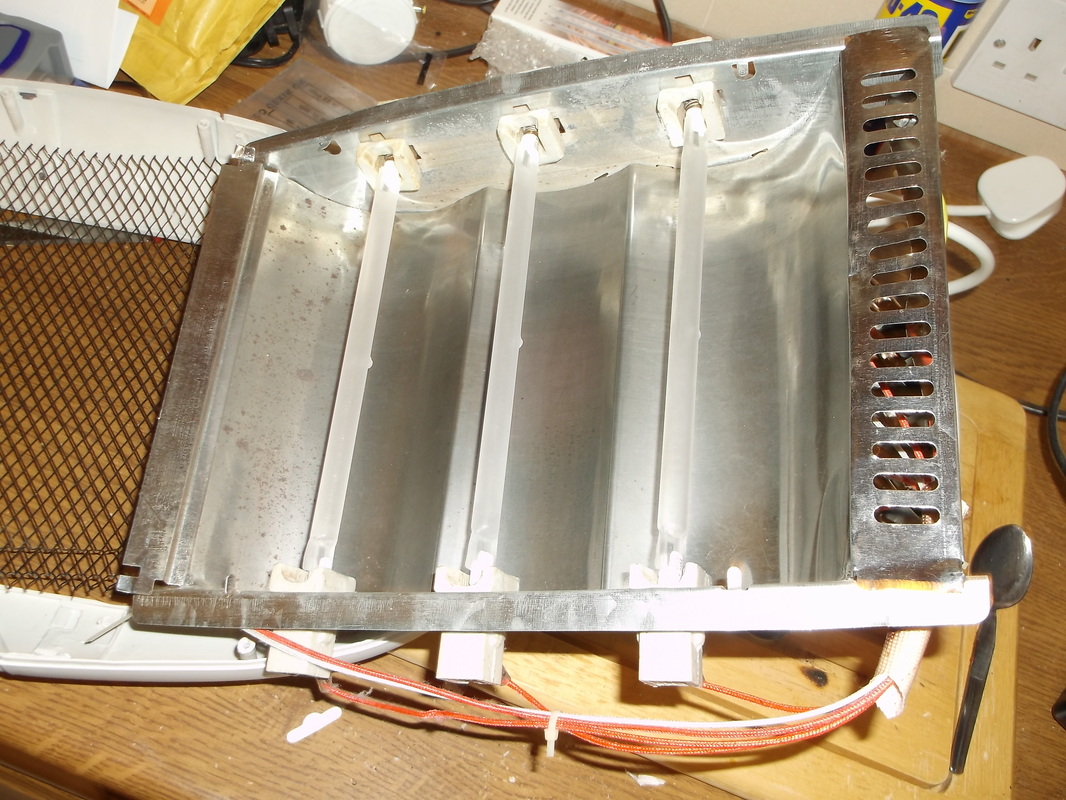
The first job was to remove the 20 or so screws that held the back on the heater. This revealed the rear of the reflector unit where the heating elements were mounted.
The first job was to remove the 20 or so screws that held the back on the heater. This revealed the rear of the reflector unit where the heating elements were mounted.
There was a lot of dust and fluff inside the unit and on the surface of the reflector unit. The heater was stripped down so that all areas could be cleaned using a vacuum cleaner and wiped clean with a damp cloth.
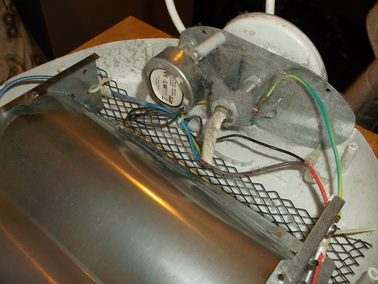
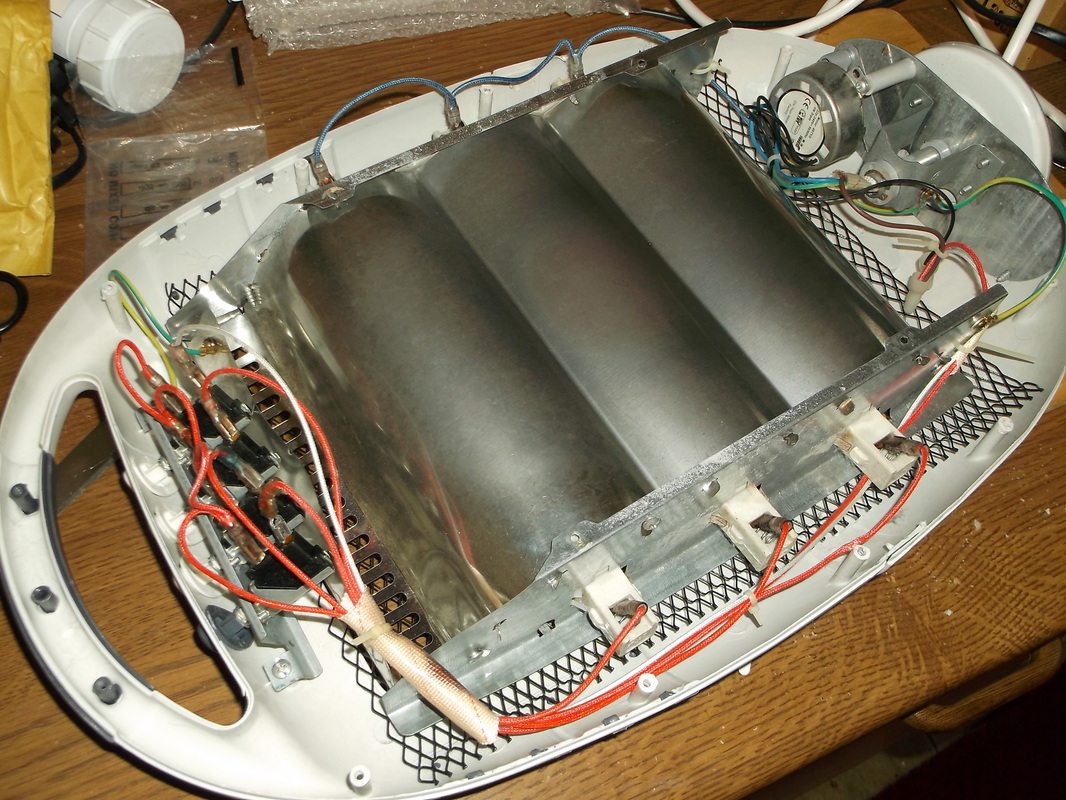
Here the motor and crank mechanism can be seen in the base of the heater. This provides the turn/oscillating function which is controlled by one of the switches at the top of the heater.
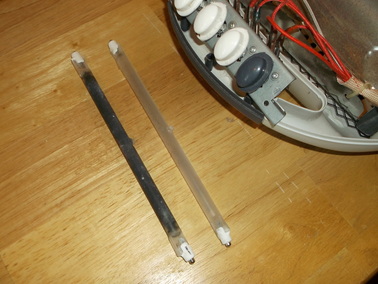
Here the two failed heating elements have been removed from the heater.
It is quite clear that one has failed(the blackened one) while the other looks ok but when tested in each position of the heater did not work.
In this picture the switch module has been removed from the casing to allow cleaning and access to the heating elements on the other side of the reflector.
The heating elements were swapped into different positions to test if they were working or not. This also verified that all switches, connectors and wiring was working correctly.
After cleaning and drying all the metalwork and plastic parts the new heating elements were installed. All three elements were replaced although one was still working. It was better to replace all the elements at the same time as the unit was not intended to be dismantled many times thus avoiding any damage to the parts with excessive handling.
|
The reflector and switch sub-assemblies were re-installed into the case and secured with the self tapping screws. The heater was connected to the mains and each element of the heater was tested together with the turn/oscillating function.
|
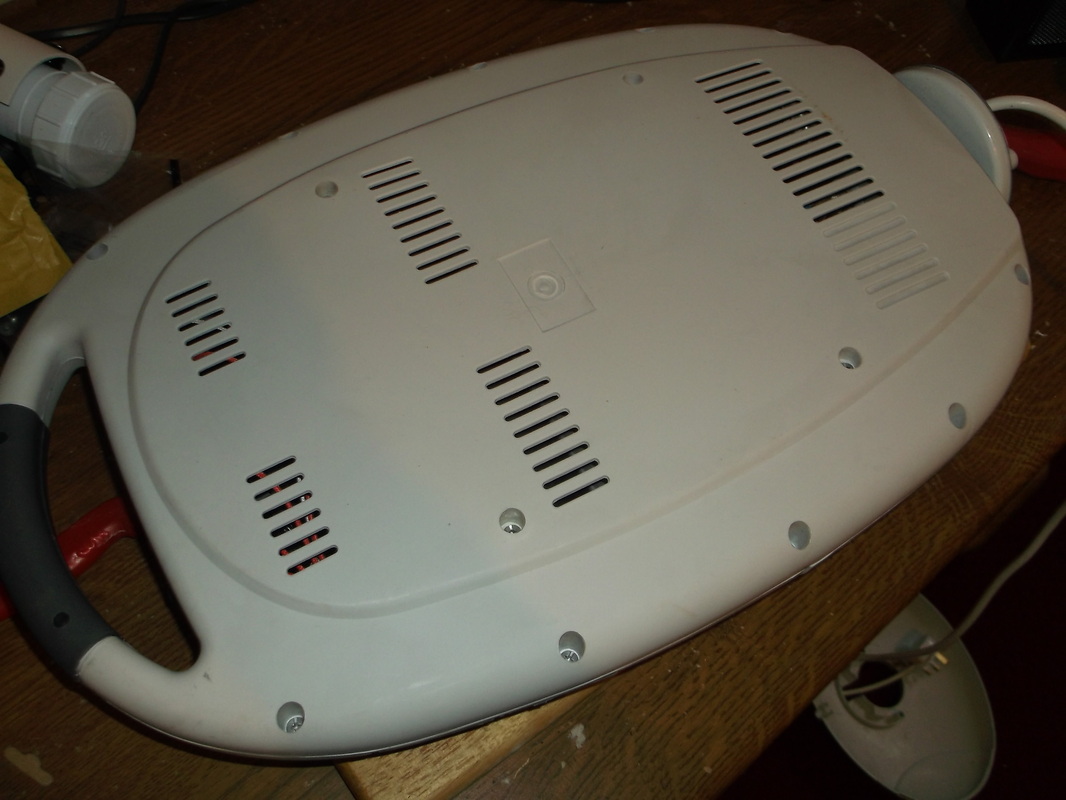
The rear cover was then re-attached to the unit. At this point only the base/foot has to be re-installed. |
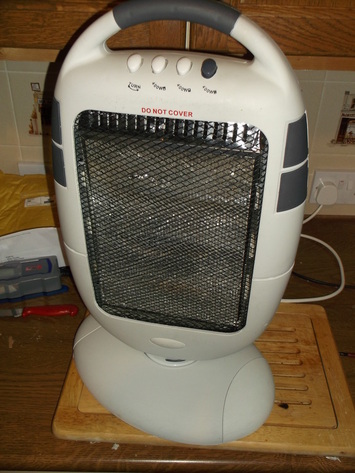
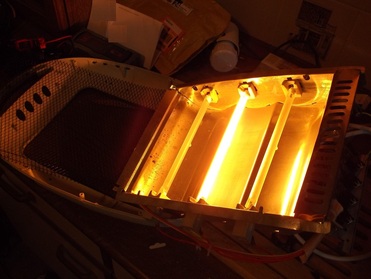
Here all the heating elements have been installed and the heater re-assembled. The heater, with the turn/oscillating function switched on was tested for an hour.
The three replacement heating elements cost less than £4 (GBP) including postage and packing. As this represents less than approximately a quarter of the cost of a new heater it was well worth the time and effort to repair the unit as it should give at least another 3000-5000 hours of use before the elements need to be replaced again.
The entire repair and testing process took less than 90 minutes.
