Background
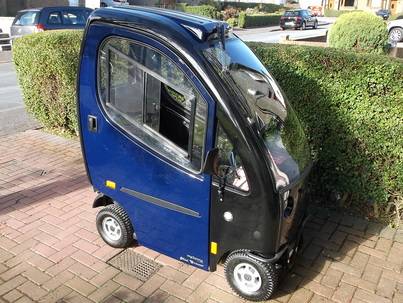 Medema Mini Crosser Cabin electric scooter.
My mum purchased this Medema Mini Crosser Cabin in December 2015 to get about locally without using the car.
It was in storage while a suitable parking place was constructed at home. Click here for details of the drive way that was constructed.
Before bringing it home the batteries were tested and it was clear that they were not charging correctly however they were 5 years old based on the date code stamped on them so they were at the end of their useful life.
I tried one last charge and test before the scooter was to be moved home however as soon as i set off on a test drive the battery meter indicated that the batteries had used half their capacity just a couple of hundred meters down the road! I could not risk getting stuck halfway home so i decided to install new batteries at the scooters temporary home.
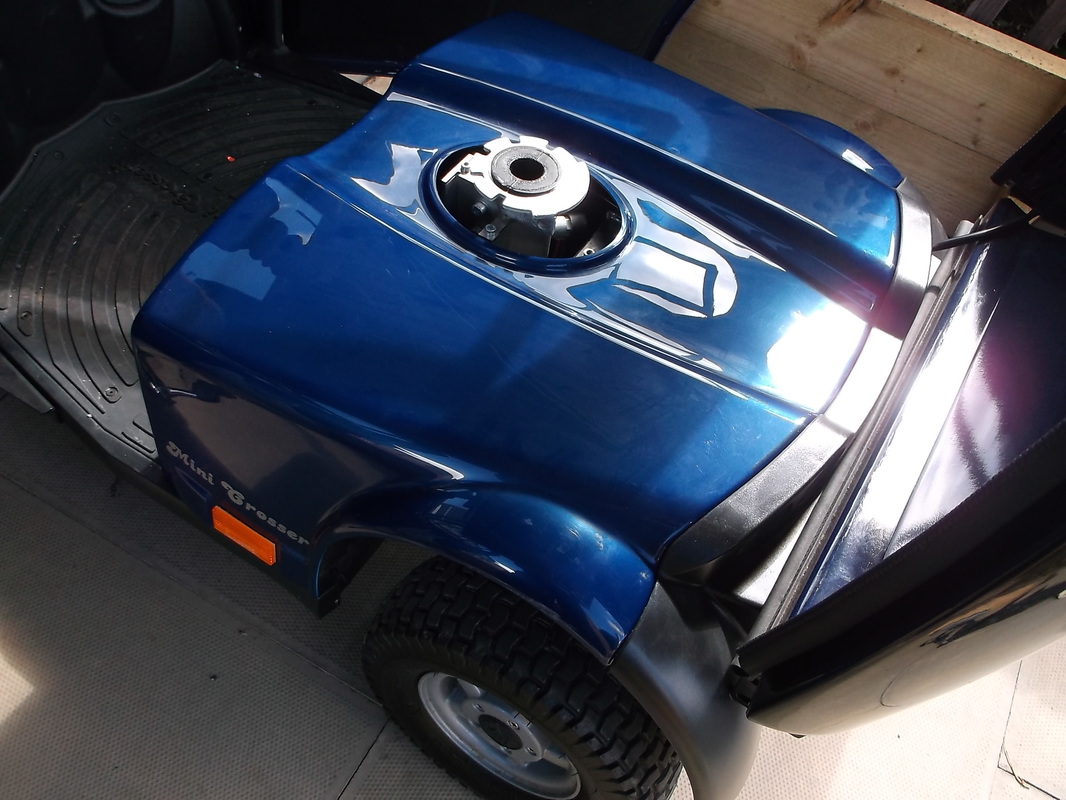
Seat removed to show the battery and drive electronics cover.
The seat has to be removed to get access to the battery and electronics cover which is held in place with a large screw knob. The seat was very, very heavy. The blue cover then lifts and slides out of two mounting latches at the rear.
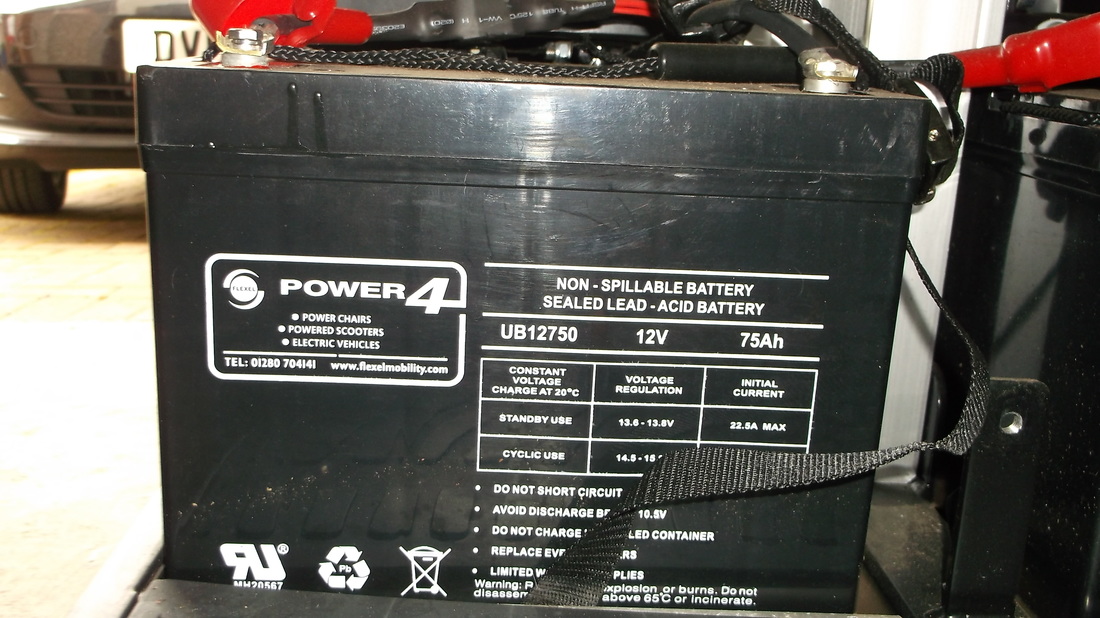
Original 12V 75Ah Battery.
This picture shows one of the original batteries just before it was removed from the scooter. The voltages were measured before the batteries were removed. One measured 12.2V and the other about 10.2V. This would explain why the batteries were not charging correctly. The lower voltage battery was probably suffering from a condition called 'sulphation'.
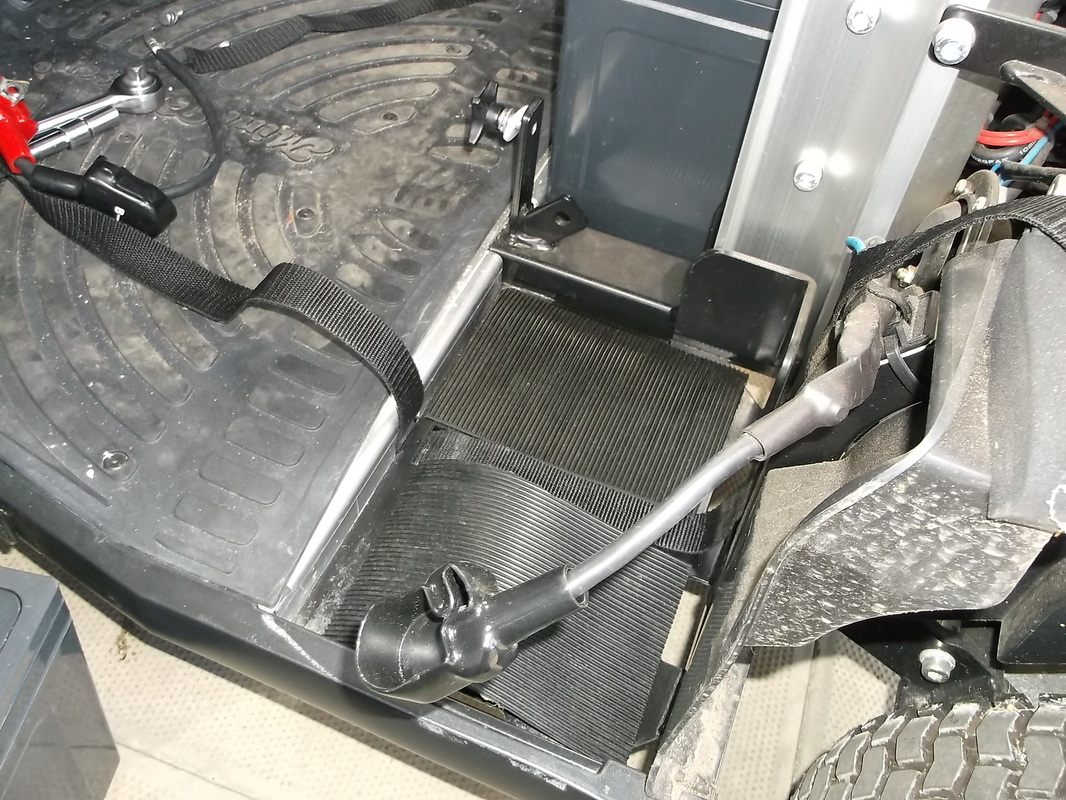
Battery compartment tray with rubber matting installed.
I fitted the batteries, charged them overnight then drove the scooter home the following day. When fitting the batteries i noticed that the securing strap went under the battery case which caused them to rock a little rubbing the paint off the chassis. I had some rubber matting left over from a caravan stairs refurbishing project so when i got home i removed the batteries and cut two pieces per battery which raised the batteries just enough to straddle the strap below. This stopped the batteries rubbing the chassis and cushioned the base of the battery cases.
|
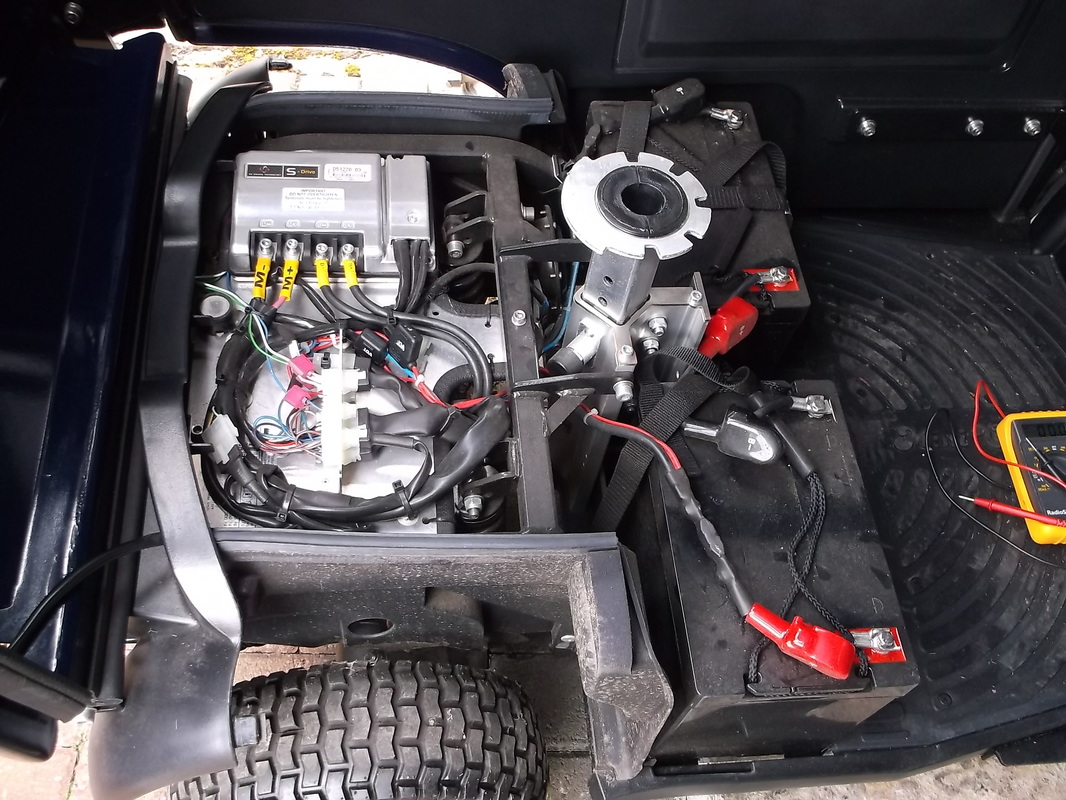
Battery cover removed to show batteries and drive electronics.
Here the cover has been removed and the batteries and control electronics can be seen. The batteries are held in place in a tray which forms part of the chassis using canvas straps.

New(on left) and original 12V 75Ah batteries shown for comparison.
This picture shows the new battery on the left compared to the original on the right. I had to ensure that the dimensions and mounting of the battery cables and terminals was identical on the new battery to avoid having to re-route the cables which may have caused fouling on the chassis parts, cover or seat post. The batteries were ordered by phone and were delivered the following day.
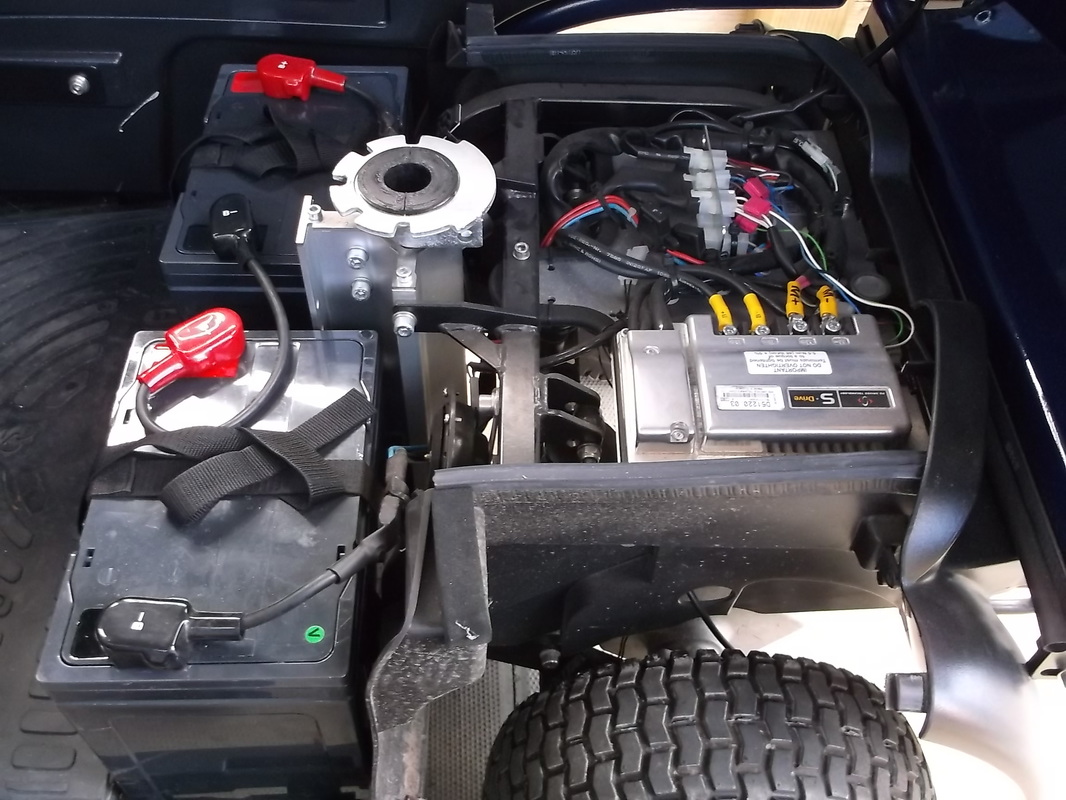
Battery trays with new 12V 75Ah batteries installed.
In this picture the batteries have been fitted on the rubber pads and all the electrics reconnected. While the cover was off i took the time to check all the connections and to clean off what little dust and dirt there was. The cover and seat were refitted and then the scooter was test driven to check all was working ok.
|
