Philips 'Philishave' HQ6849 Rotary Electric Shaver
Background
This Philips Philishave HQ6849 rotary cutter shaver is from around 2003 based on date codes on the electronic components. The shaver had not been used for a number of years. When it was asked to look at it, it did not work. I plugged it into the mains to charge it for a few hours. The LED status lights indicated it was charging but when complete the shaver still did not work when the switch was operated. The switch seemed a little stiff the first couple of times it was operated which was a clue to other internal problems. Due to the age of the shaver and the lack of any recent charging of the battery i was certain that a new battery would be needed.
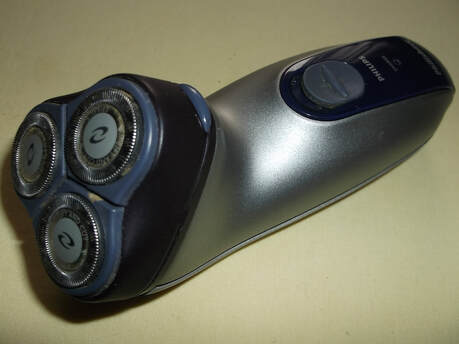 Philishave HQ6849 Rotary Head Shaver from around 2003.
This picture shows the Philips Philishave HQ6849 three head rotary cutter shaver.
The shaver was totally dead. It had not been used for a number of years. Initial diagnosis was that the battery would be flat, possibly even beyond salvage
I connected it up to the AC mains and left it for a few hours.
When tested nothing happened, the motor did not run.
The next step was to disassemble and have a look at the condition of the inside components.
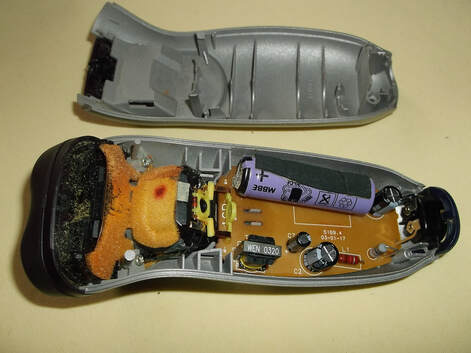 Shaver showing internal components.
The internals were in pretty good condition.
There was the usual dust and shaving debris inside but otherwise no signs of serious damage such as burn out components etc.
The shaver consists of four major components/sub-assemblies.
1. The circuit board incorporating the motor drive, battery and battery charge electronics.
2. The drive motor.
3. The rotary head mechanism.
4. The case, incorporating the on/off switch.
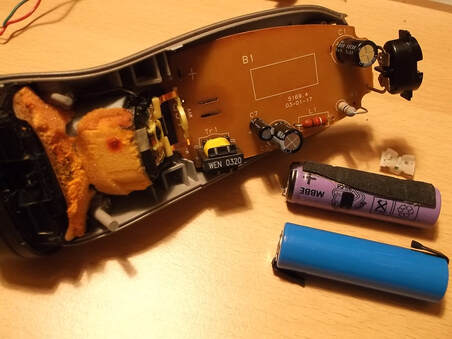
 Battery & PCB damage due to electrolyte leakage.
The most obvious problem was the stain on the circuit board emanating from around the positive terminal of the battery.
On closer inspection, corrosion was present on the battery indicating it had been leaking and would need to be replaced.
To ensure that the circuit board was still functioning i decided to temporarily fit a 1.2V Ni-Cd battery into the circuit before purchasing a new battery.
When operating the switch it was noticed that it was stiffer than expected. When the other side of the PCB was examined it became clear why.
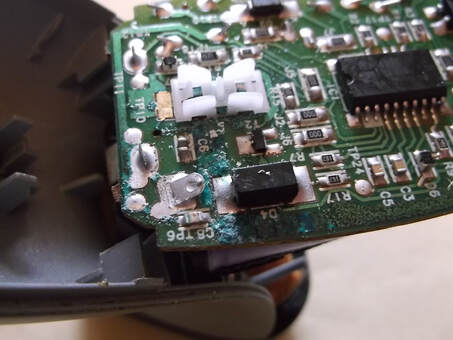 PCB damage due to battery electrolyte leakage.
The underside of the PCB had staining and crystals from the battery electrolyte leakage.
A light aerosol cleaning solvent was used to clean away the crystals and remains of the leaking solvent.
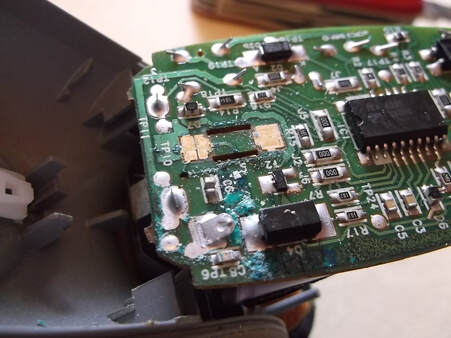 PCB & switch contact damage due to battery electrolyte leakage.
The small plastic slide switch was removed revealing more corrosion including around the gold plated switch contacts.
Fortunately as the switch contacts are gold plated they had not corroded. The solder mask had also prevented damage to the PCB tracks.
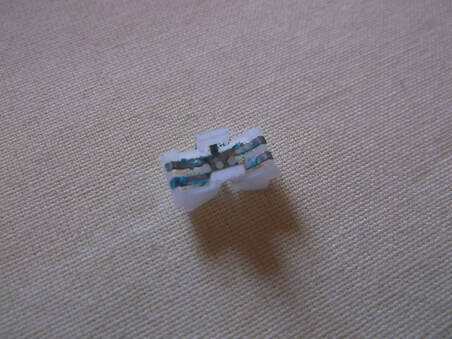 Switch contacts corroded due to leaking battery electrolyte.
The plastic slider switch was removed from the PCB.
The leaking battery electrolyte had corroded the spring contacts of the sliding switch.
The corrosion was brushed off and cleaned with light solvent.
Fortunately the corrosion was only on the surface and had not damaged the structure of the metal.
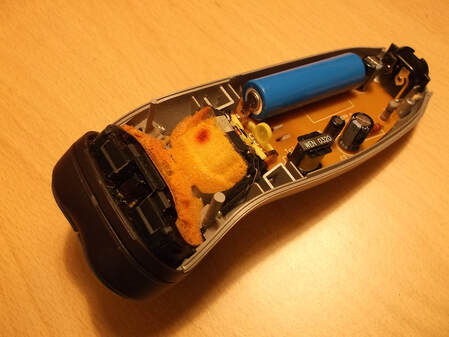
 Casing & PCB with old battery removed and new battery.
The old battery was desoldered from the PCB.
The solder tags on the replacement battery had to be carefully trimmed to fit the holes in the PCB.
The battery was taped in place on the PCB while the solder tags were inserted through the PCB and soldered in place.
The plastic slide switch was removed from the PCB while the battery was soldered in place.
 New battery soldered onto PCB.
In this picture the new battery has been installed together with the refurbished sliding switch.
The shaver internals were cleaned and lubricated where required and the case re-assembled.
The shaver was charged for a few hours and tested.
It has since been giving good service to its owner, holding its charge and providing between 5-6 days shaving before recharging.
