Background
Although the gas cylinders had not been moved i decided to start work on construction of the frame and work around the cylinders in their current position and assemble as much of the frame as possible. The frame at the side of the caravan was completed and as much of the frame at the front was completed until the gas cylinders were re-positioned.
Over the past month i had calculated the size of all the posts required for each part of the frame and developed a cutting plan to minimise the number of posts to be purchased and the amount of waste. All fourteen posts were cut from six 3metre long posts.
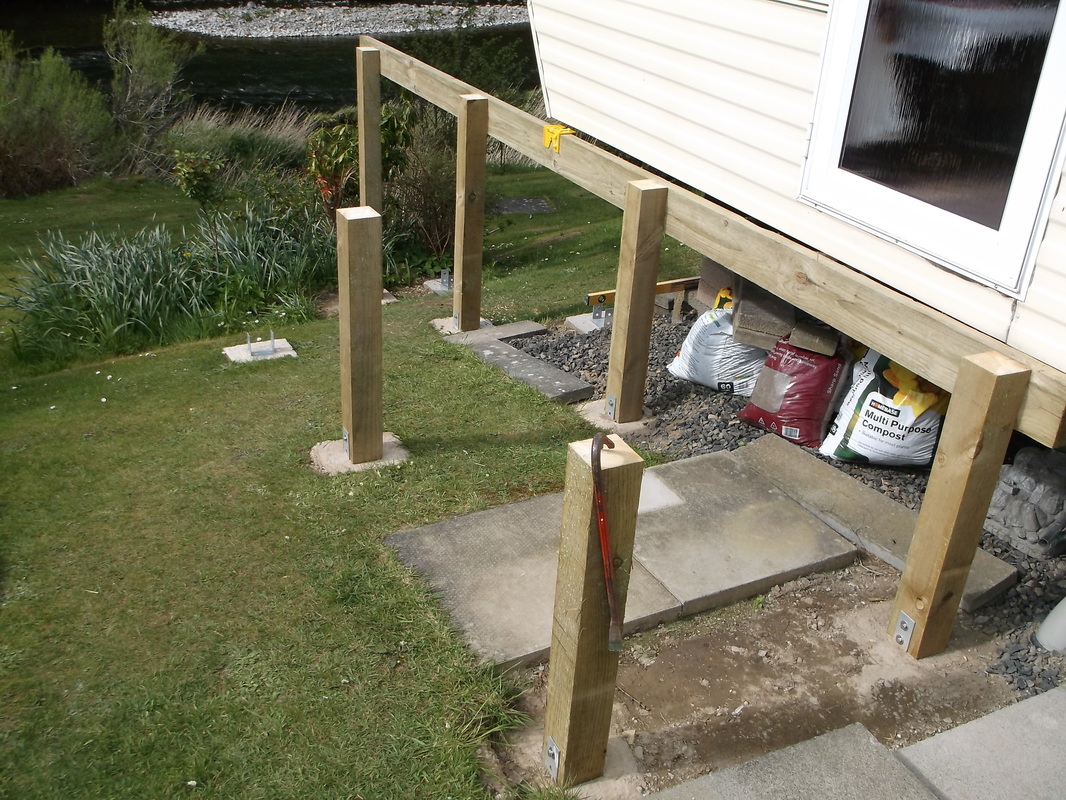
After the side section of the frame was completed the posts and members of the front section were installed as far as possible by working around the gas cylinders. They were due to be moved the following day.
|
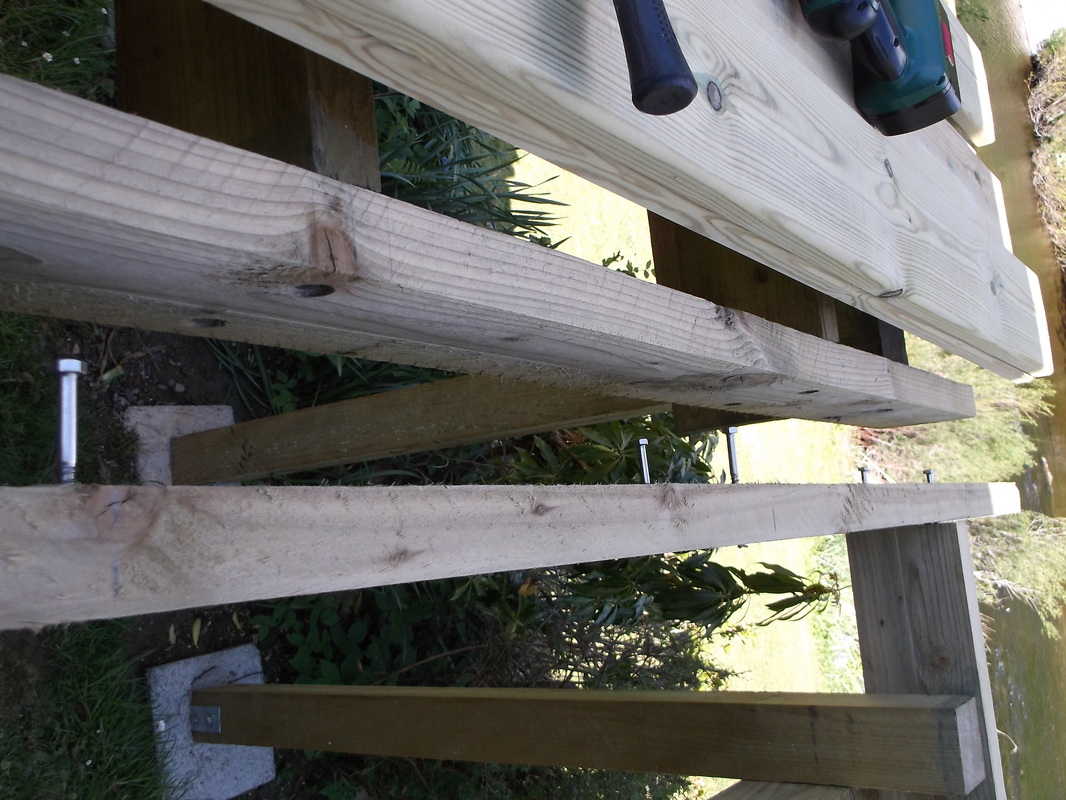
To ensure that rain water would drain from the decking and minimise damage due to standing water a slope was calculated into the design. A slope of 1:100 was used resulting in a drop of 48mm over the 4800mm length of the decking. The slope can be seen in this photograph. When the decking surface is laid onto the frame the slope will be less obvious to the eye as the gap between the frame and caravan side will not be so obvious.
This picture shows the state at the end of 26th May 2015. The side section sub-frame has been completed. The decking surface and handrails will be installed next. Only part of the front section of the sub-frame has been completed.
|
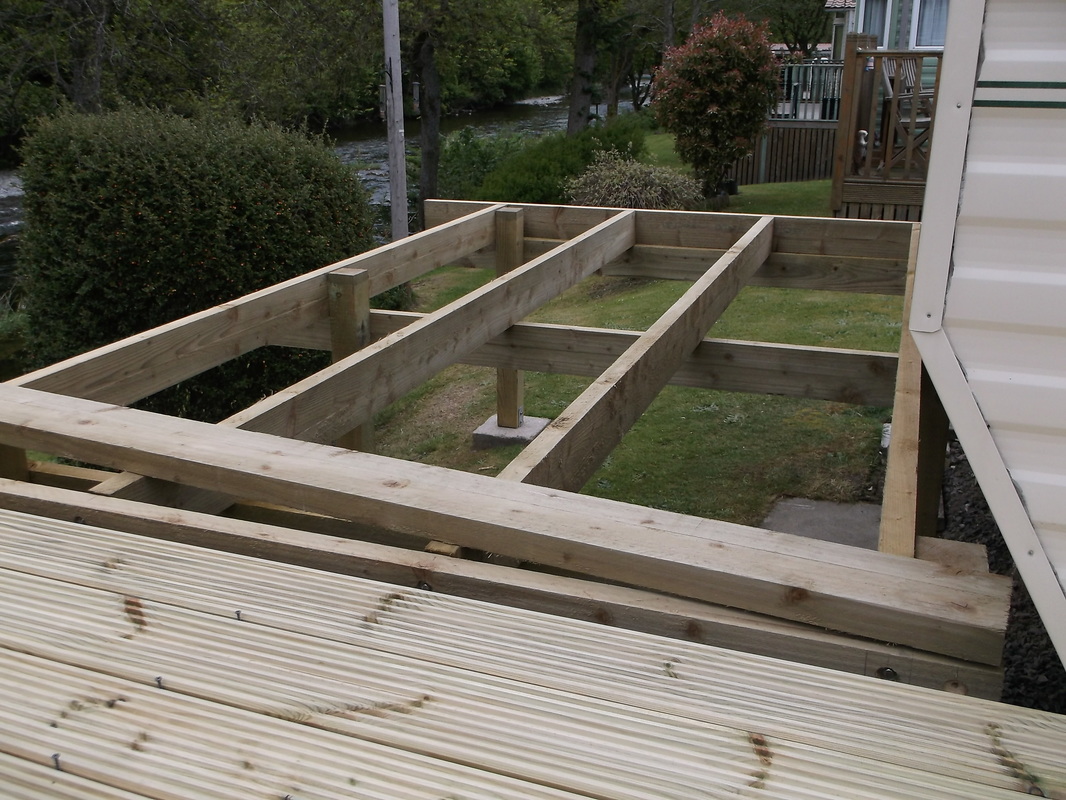
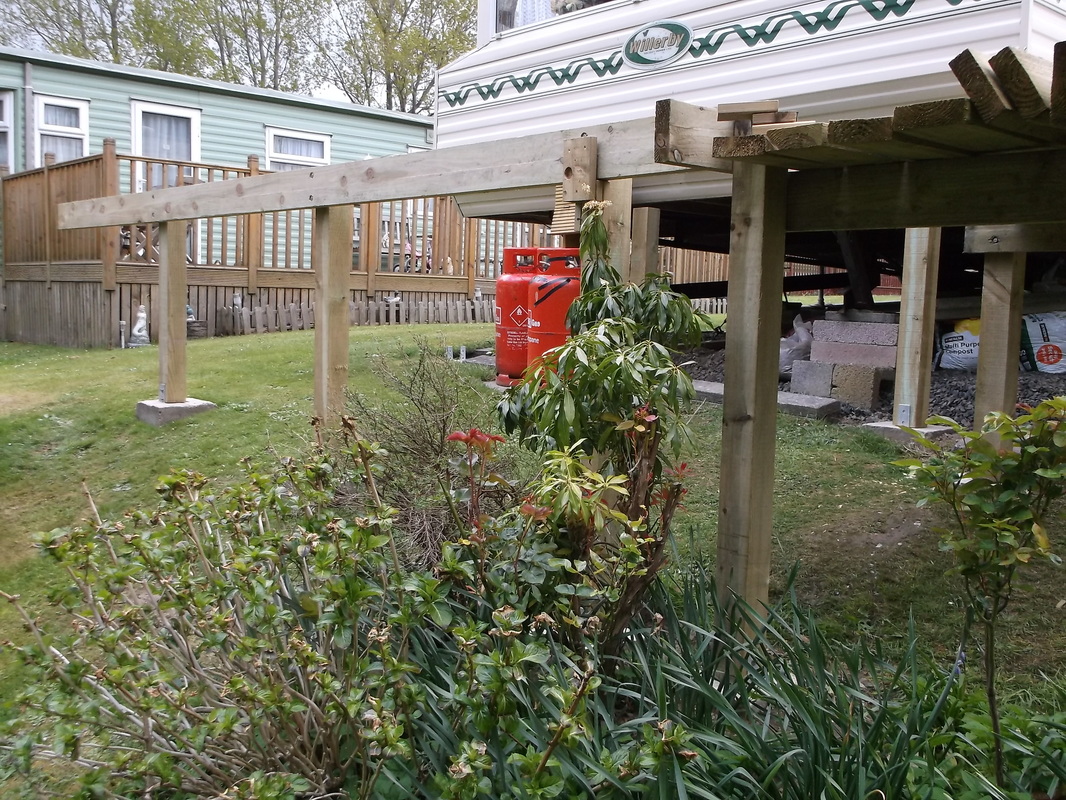
Work recommenced on 29th May completing the support poles and framework at the front of the caravan. The stiffening and decking support cross members were also added to the side section.
|
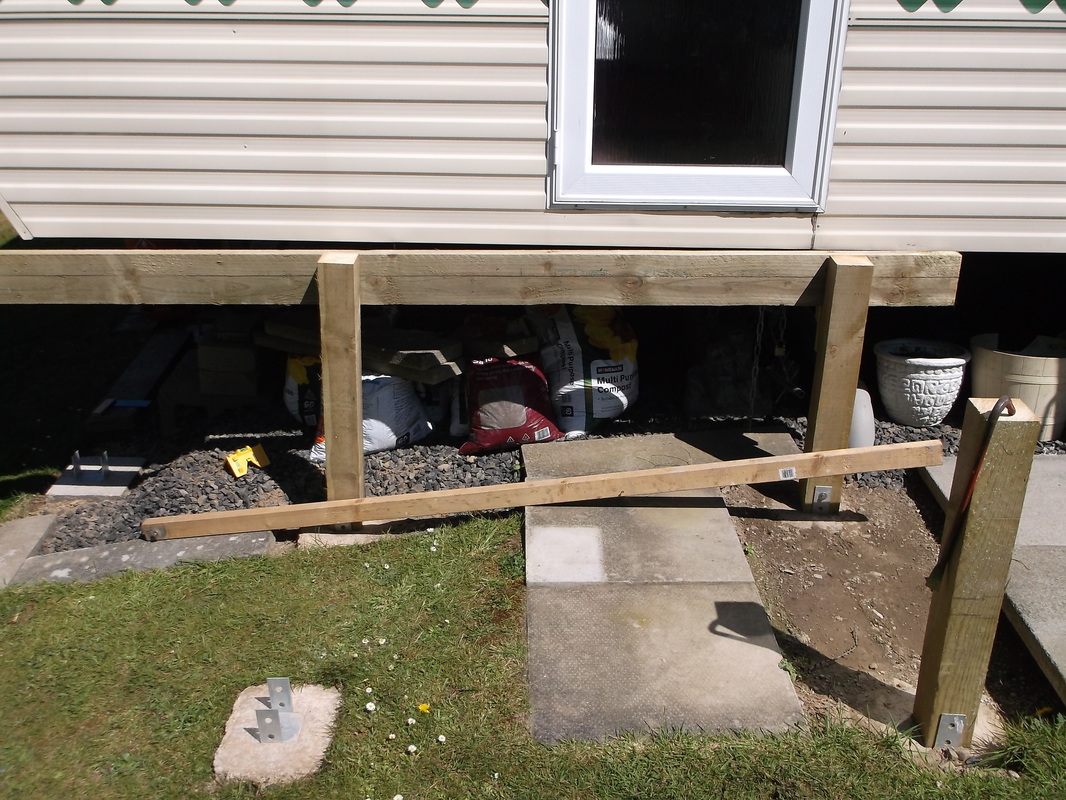
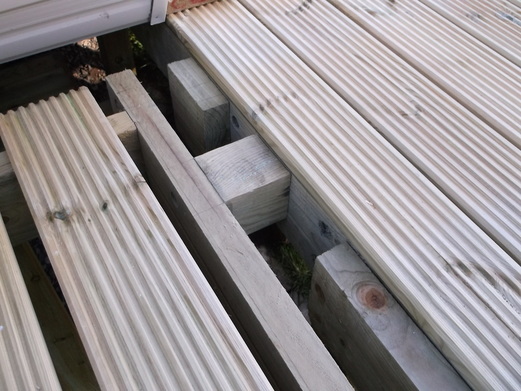
This photograph shows where the two separate sections of the decking, the side and front sections will be joined together. Building the two independent sections allows them to be maintained by allowing access to all bolts and joints. The sections will be joined using sections of 100mm square post which will be secured to each side of the frame using coach screws.
|
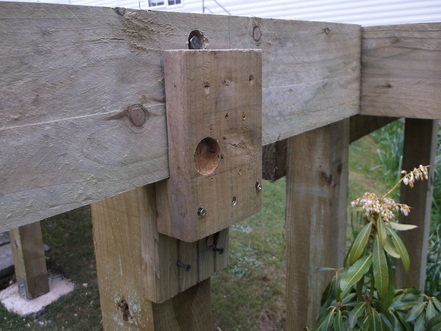
I thought it would be worthwhile to show the simple bracket i devised that allowed me to line up long sections of wood and set them at the correct height. Working alone with long sections of heavy wood is always dangerous but especially so when on an inclined slope where the wood is above head height.
The bracket was made from offcuts of wood from other projects. When attached to the support post the bracket forms a 'support cup' holding the wood at the correct height and close into the support post.
The support bracket is attached to the post so that it holds the frame element at the desired height. Another bracket is attached at the post where the other end of the frame element will be attached. By using three screws the height of the frame element can be adjusted by removing two of the screws temporarily and rotating the bracket. When the frame element is at the desired height the screws are driven in and the frame can then be secured in place.
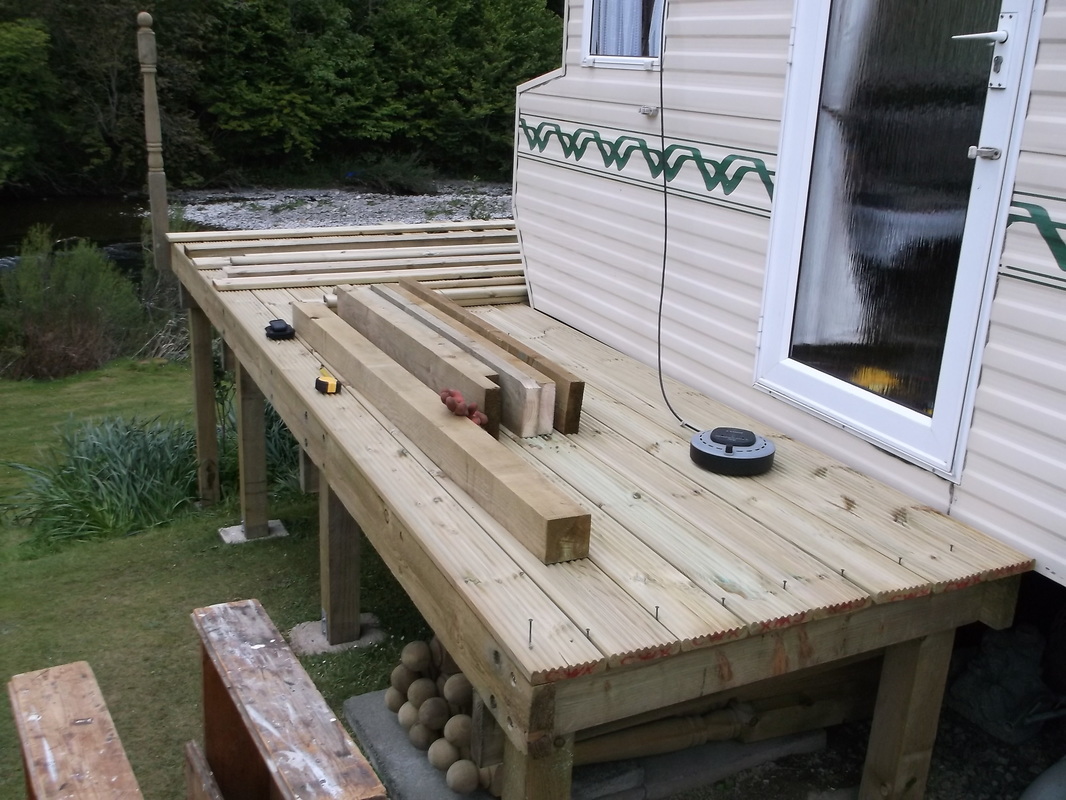
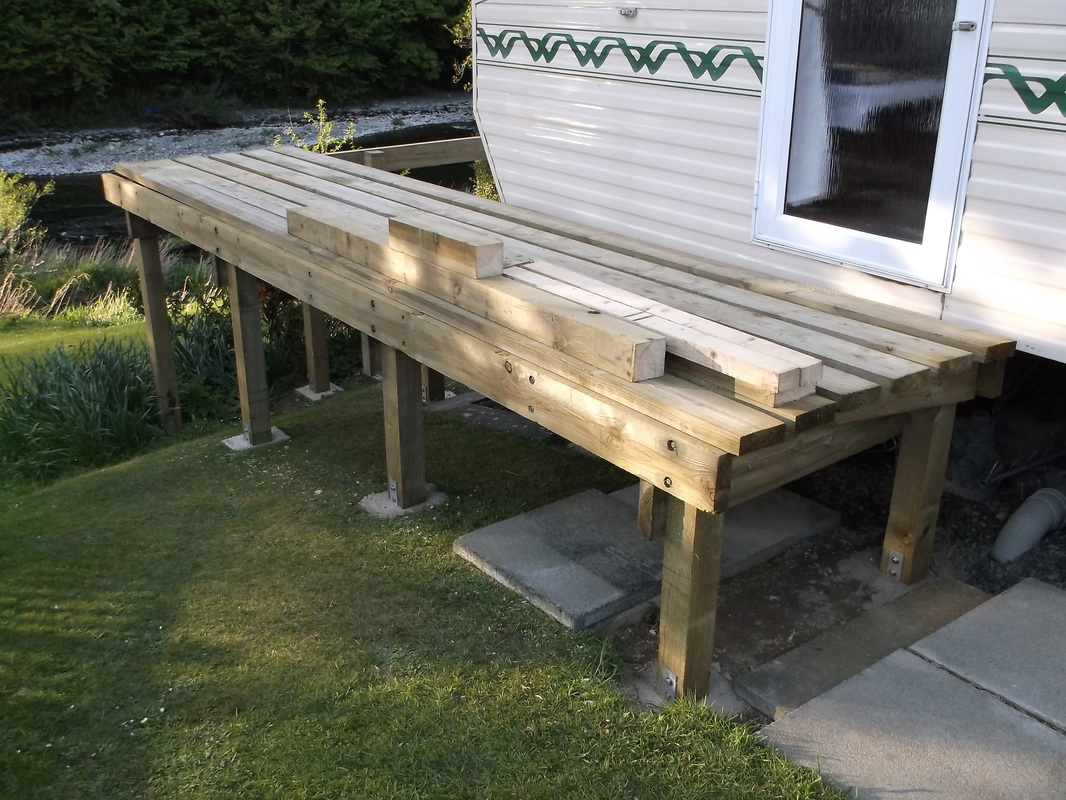
The decking planks, handrails and posts were delivered on Friday 29th June. By the end of Saturday 30th June the decking planks on the side section were positioned and spaced ready to be secured in place.
Work stopped as the the weather for the next few days was not forecast to be good. |

On the front section the decking planks were cut to length(2.4m) and laid in place. The remaining wood was placed on top to hold the planks in place and to allow them to flatten before they were fixed in place. A break in the good weather stopped further work. The planks being laid out allowed them to flatten and dry out having been stored in piles for many months. This helped make them easier to handle when they were fixed in place.
|
This photograph shows how the two sections of the decking, side and front were connected together. Left over pieces of 100mm x 100mm post were positioned between the frame members and M8 x 100mm coach screws were driven into the joining pieces through the frame members. Also shown are sections of framing attached to the side section of the decking. These will be used to support the decking plank which will be used to cover the join between the sections.
