Braun Contour 6522 /5703 Shaver Repair / Refurbishment
Background
This Braun Contour 6522/5703 rechargeable electric shaver was given to me by yet another man who wanted his shaver repaired during the COVID-19 pandemic as it was no longer holding a charge and had developed a strange habit of 'locking' whereby the start/stop button would be pressed, the shaver would buzz for a fraction of a second then stop. Pressing the button after this had no effect. The shaver could be plugged into the mains for a few minutes and then be used normally until the battery drained.
As the shaver was in good condition i thought it was well worth trying to repair it and keep it from the recycling centre.
As the shaver was in good condition i thought it was well worth trying to repair it and keep it from the recycling centre.
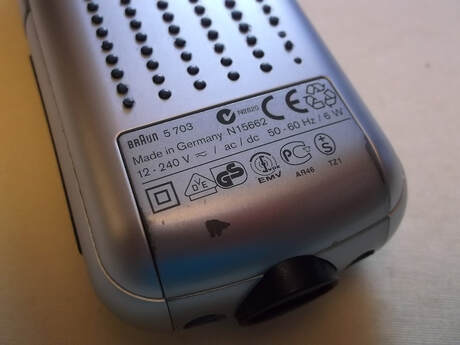 Shaver rating plate.
Braun seen to use two model numbers. This particular shaver is marked as '5703' on the rating plate but on the front side is marked '6522'. Hence when searching for replacement parts it is advisable to use both model numbers.
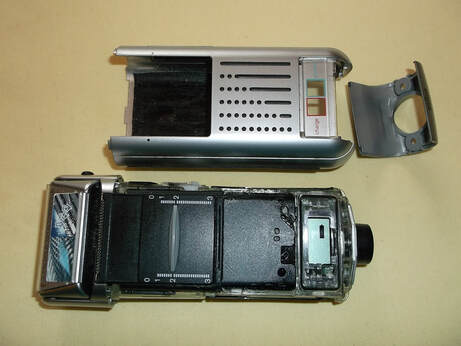 Shaver partially dismantled.
The two plastic plugs were removed from the end of the shaver exposing the securing screws.
When the securing screws were removed the main body of the shaver was removed by sliding it out of the case.
The shaver consists of a number of modules/sub-assemblies that clip together into the base unit.
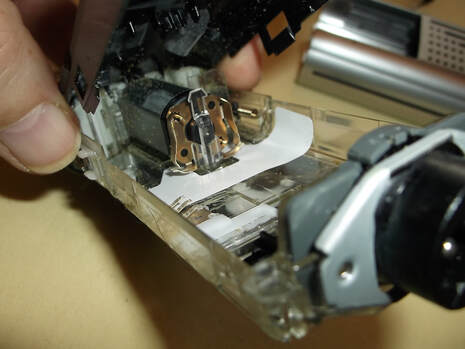 Shaver with electronics & batteries removed.
With the LCD screen and main PCB sub-assemblies removed from the casing only the drive motor and mains connecting plate remain
The motor connects to the main drive PCB using two spring contacts that make contact with pads on the PCB. A similar arrangement is used to connect the mains connector to the PCB.
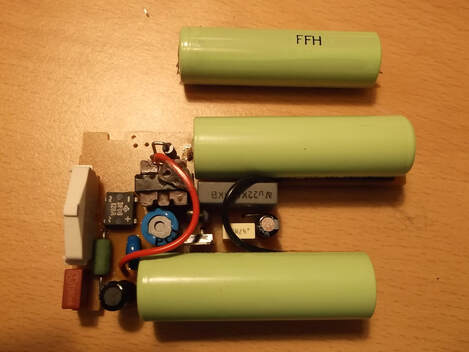
 Shaver controller PCB showing batteries.
This is the shaver main PCB complete with the original batteries still installed.
The white component at the right of the PCB connects to the mains connector bringing the input voltage onto the circuit board.
The batteries are 1.2V NiMH rechargeable cells.
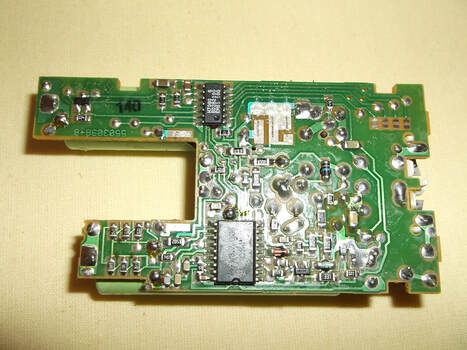 Underside of main PCB showing control electronics.
This shows the underside of the circuit board. The mains connections are at the indentations at the right hand side of the PCB.
The large 'silver' pads at the top of the circuit board connect to the sliding contacts of the on/off switch.
The silver contacts at the top and bottom legs of the 'U' of the circuit board connect to the spring contacts of the motor providing power to it.
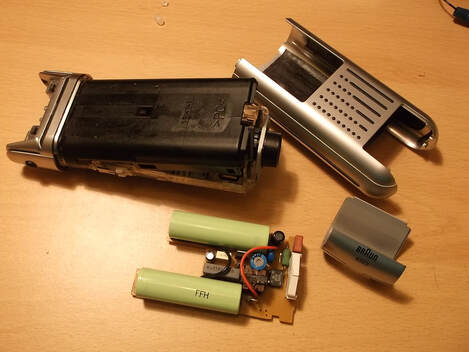 Shaver dismantled showing all main sub-assemblies.
This picture shows the main sub-assemblies of the shaver and the clever 'sliding mechanism/sleeved' design of its construction
All of the electrical connections to the mains connector, the motor, the switch and to the battery are via spring contacts thus eliminating the need for small connectors and wiring which has to be assembled and routed within the case.
 Main PCB Showing new batteries installed compared against old one.
This picture shows the new batteries soldered into place on the PCB. One of the old removed batteries is shown alongside for comparison.
The solder tabs on the new battery were oriented differently to the old batteries and had to be carefully trimmed to allow them to fit the circuit board
When the batteries were safely soldered in place the shaver was carefully re-assembled and tested.
The cost of the replacement batteries including postage and packing was just over GBP10. A replacement equivalent shaver would cost at least GBP80 new so given the good condition of the shaver it was well worth the effort replacing the batteries. After a few hours charging the shaver was ready for use. A new foil and cutter were also fitted and the shaver given a good clean before it was returned to its owner. The shaver should now be able to give many more years service. Another example of how easily 'Reduce, Reuse, Recycle' can make a big difference to reducing waste and damage to the environment.
