Background
My mothers lawnmower recently stopped working as smoothly as it used to. The control switch seemed to be more difficult to operate until it eventually failed and the electric motor would not start. Given that the mower is over 30 years old it was not surprising that something might go wrong eventually!
I dismantled the switch unit and after a few minutes found that the control lever had developed a crack causing the lever to split rather than rotate and operate the electrical switch. I was able to locate a manufacturers genuine replacement on EBay and set about repairing the lawn mower. The details of the repair are described in the rest of this page.
I dismantled the switch unit and after a few minutes found that the control lever had developed a crack causing the lever to split rather than rotate and operate the electrical switch. I was able to locate a manufacturers genuine replacement on EBay and set about repairing the lawn mower. The details of the repair are described in the rest of this page.
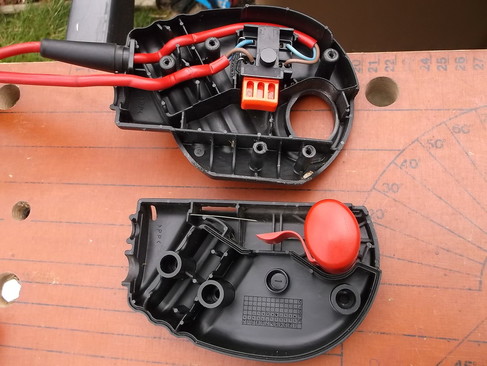
Removing the switch unit from the lawnmower handle and dismantling the body was very straight forward, five self tapping screws.
The parts were all easily removable and each was checked for signs of damage or wear as it was removed.
With the control lever removed the switch was depressed(the rectangular orange button) and the motor operated as expected.
This indicated the switch was unlikely to be the cause of the problem.
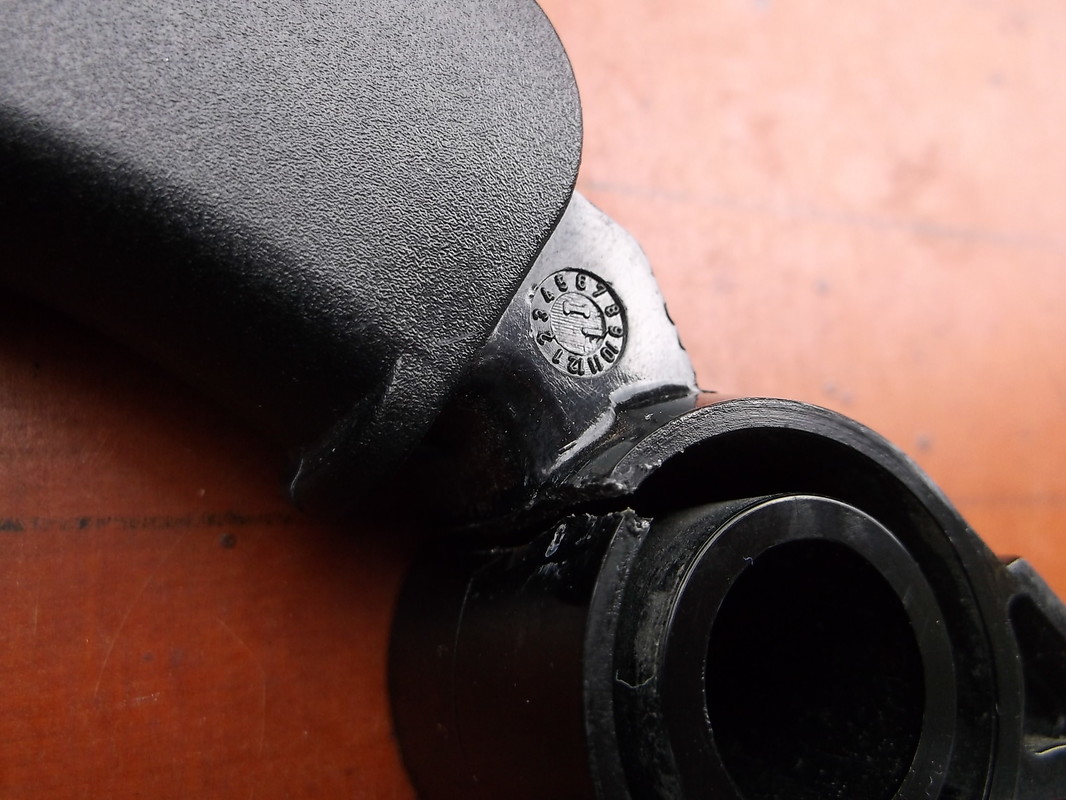
On removing the control handle it could be seen that the plastic had snapped causing the lever to flex rather than rotate and operate the electrical switch.
|
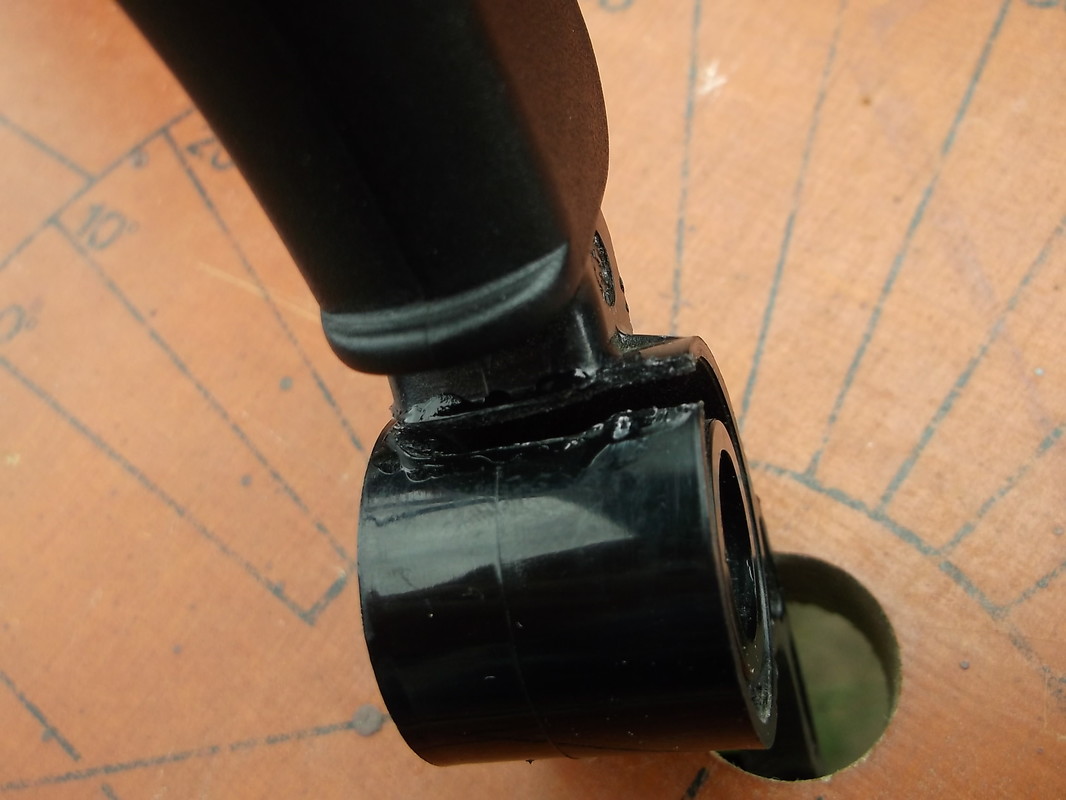
The angle this photograph was taken shows how severe the damage was. In order to show the cracked plastic clearly i have applied a small force to open it up so it would show up clearly in the photograph.
|

I was able to order a genuine manufacturers replacement part on EBay which took just a couple of days to arrive.
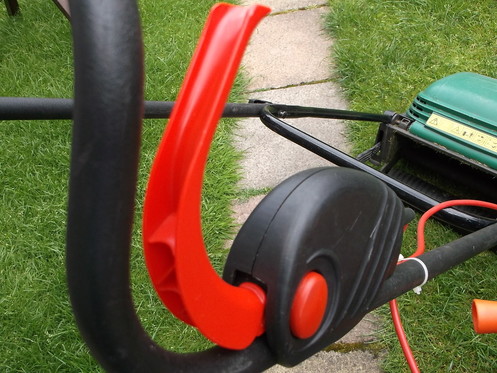
The replacement came in bright orange plastic as opposed to the original black.
The structure was identical to the original apart from some additional filleting inside the handle curve to provide additional stiffness to the plastic.
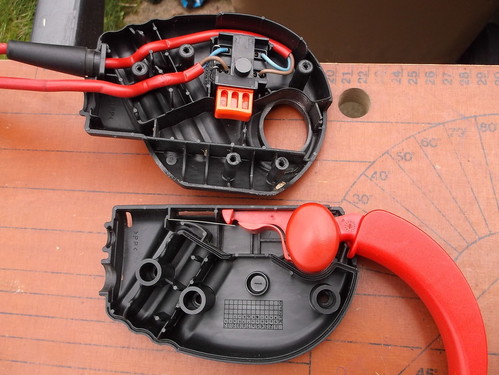
This picture shows the new control handle installed in one half of the control switch housing with both halves ready to be re-assembled.
The trickiest part of the re-assembly was stopping all the parts from dropping out and ensuring the electric cable stayed in place.
Once the two halves were re-assembled the unit was tested to ensure the mower motor operated before being mounted on the handle.
The switch module was remounted on the mower handle and the mower tested.
The additional plastic filleting on the new handle can be seen inside the curve of the control handle.
The cost of the replacement control handle was just GBP6 including postage and packing. The total time to repair the mower was less than two hours including diagnosing the problem, searching for and ordering the parts, repairing and testing. This made the effort of repairing the mower very cost effective given that the equivalent brand new mower would cost GBP100.
