Background
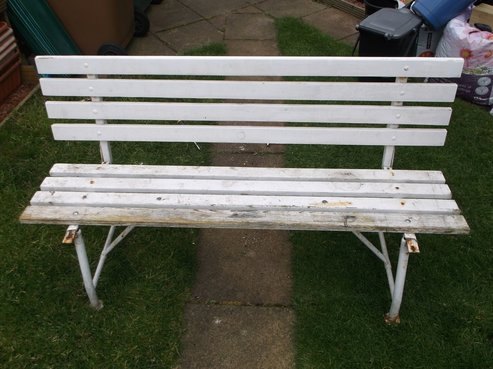
My mum and dad have had this white wooden bench for over 35years. It is unusual by today's standards(2017) in that it has a very sturdy steel frame. The frame itself is in good condition, there is some surface rusting but this will easily be sanded off.
The bench dismantles quite easily using bolts and screws. Unfortunately two of the steel screws had badly corroded and damaged the wood they were screwed onto causing it to rot. The condition of the wood was still good enough so that it was worth while repairing and saving it.
The work to be carried out can be grouped as follows:
- Dismantle the bench, check for damage to wood and metal and repair as required.
- Obtain appropriate wood for replacement front spar, drill mounting holes and shape as required.
- Rubdown all wood, prime and prepare for top coat.
- Rubdown all metal work, prime and prepare for top coat.
- Paint top coat on all wood and metal parts.
- Reassemble bench.
The bench is in good structural condition but the front spar has rotten and the wood is soft. It has been removed and will be replaced.
The steel frame is in good condition and requires sanding down and repainting. Some areas have light surface rust were water has become trapped between the wood and the metal. Given that the bench has never been dismantled before the metals has survived remarkably well!
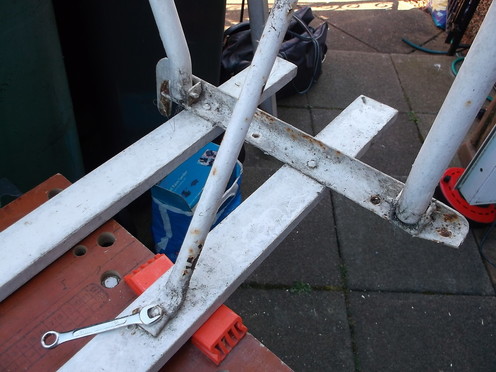
The wooden spars of the seat and back rest are secured to the frame using round head galvanized M6 bolts and nuts. For many years these have been covered in paint so were relatively easy to release.
A metal spar was secured to the underside of the seat spars to stop them spreading and bowing when a person sat on them. This was secured in place with steel screws. Unfortunately two of these had rusted and damaged a small area of wood on the underside of two of the spars. The damage was small enough to make it worthwhile repairing it with a wooden insert.
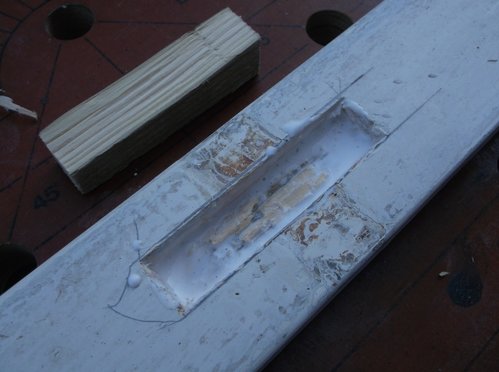
This picture shows the first damaged spar. The damaged area of wood around the screw has been carefully removed using a chisel.
It is important that the hole created is a snug, tight fit for the repair piece otherwise it will crack and pop out when stressed by someone sitting on the seat. The repair hole should also be deep enough so that it is securely held in the hole. Again, if it is too shallow the repair piece will pop out when the wood is stressed.
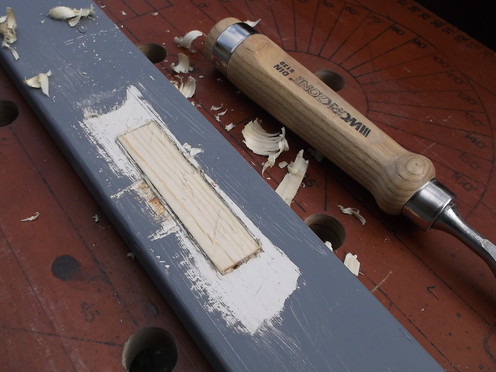
The hole was coated with a generous layer of weather/water proof wood glue before the repair piece was inserted.
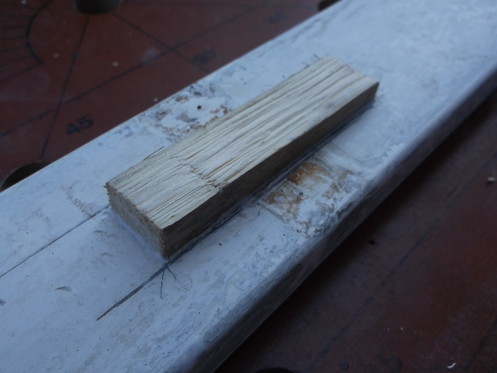
In this picture the repair piece has been carefully inserted into the hole and tapped home with a rubber mallet.
The excess glue was wiped away after ensuring that as much of it as possible was pushed down into any gaps in the repair.
The repaired spar was then left for 24 hours in a warm room to allow the glue to fully set.
A second spar was found to have some soft/rotted wood around the screw hole after it had been sanded and primed.
As with the previous repaired spar the damaged wood was removed and an insert glued in place.
A chisel was then used to work the repair piece down to the surface of the spar. Various grades of sandpaper were used to finish the repair.
More information on this project to follow soon.....
